repairing a warped neck

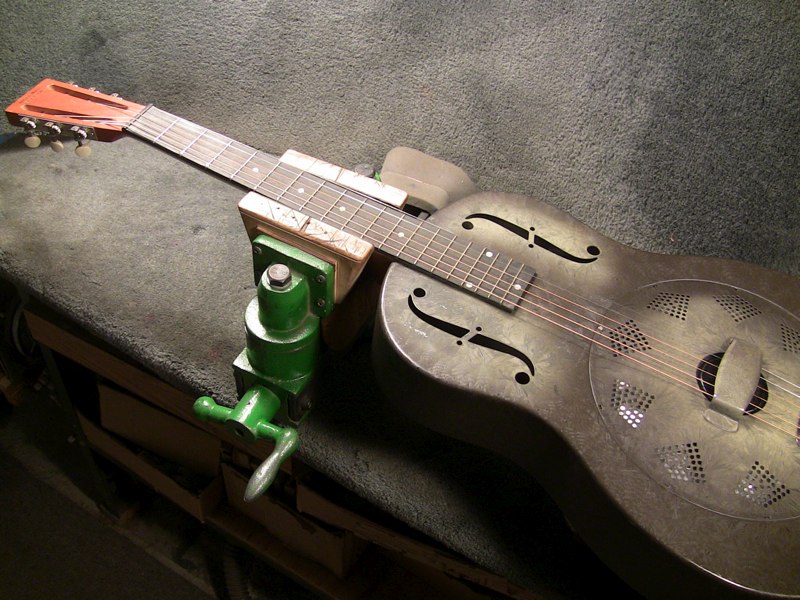
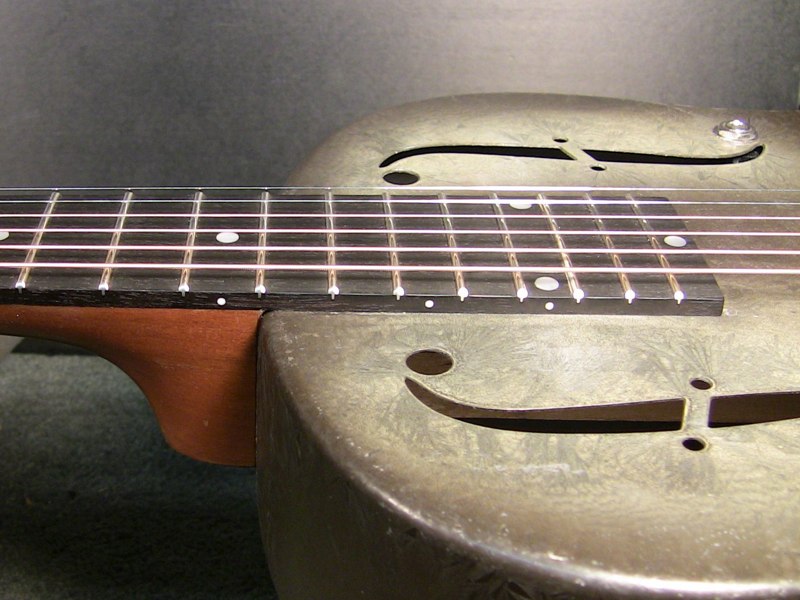
This National Duolian is in fine condition but has worn frets, a warped neck, and very high action.
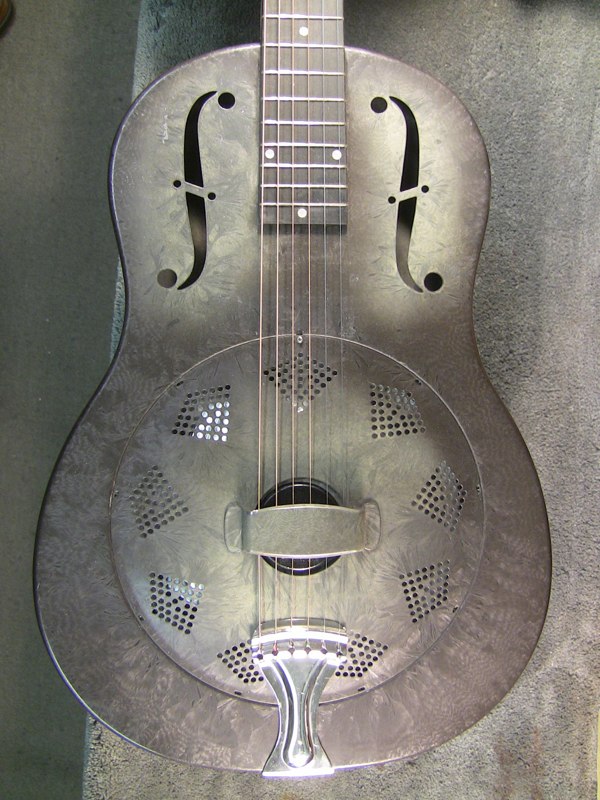
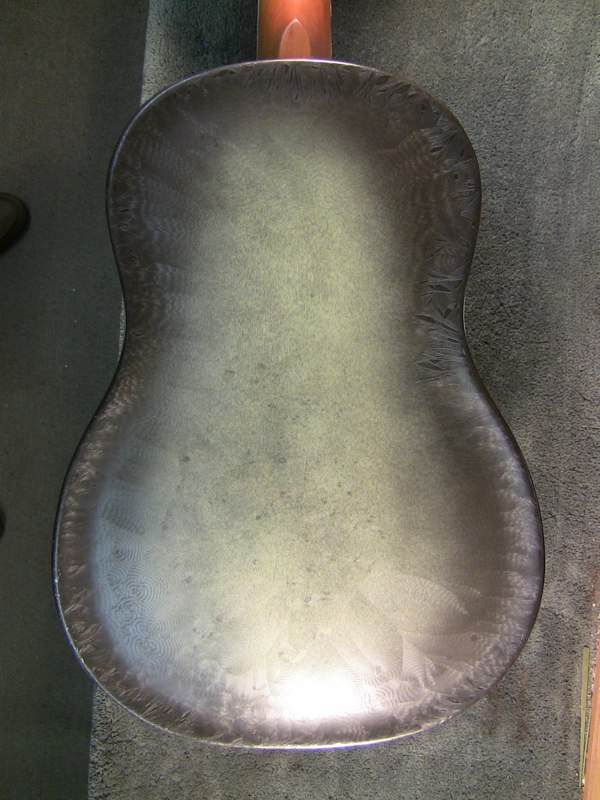
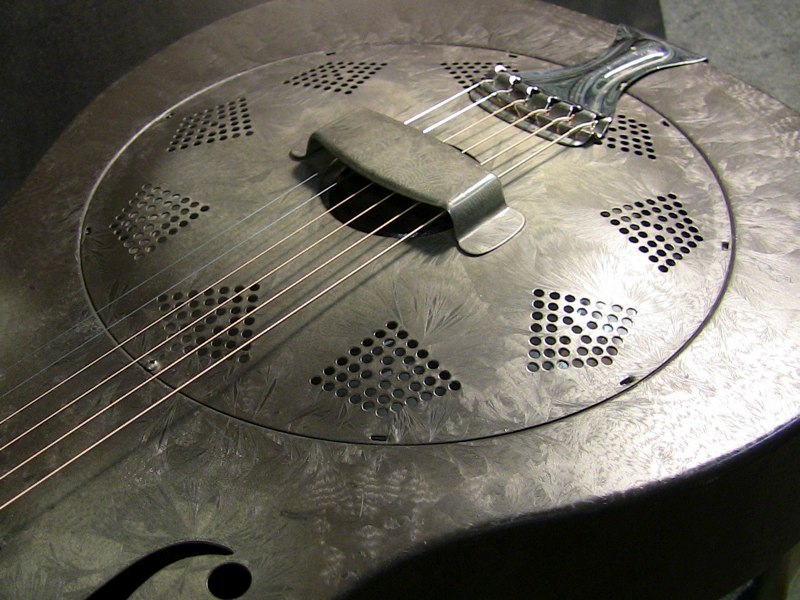
It's finish is in excellent condition

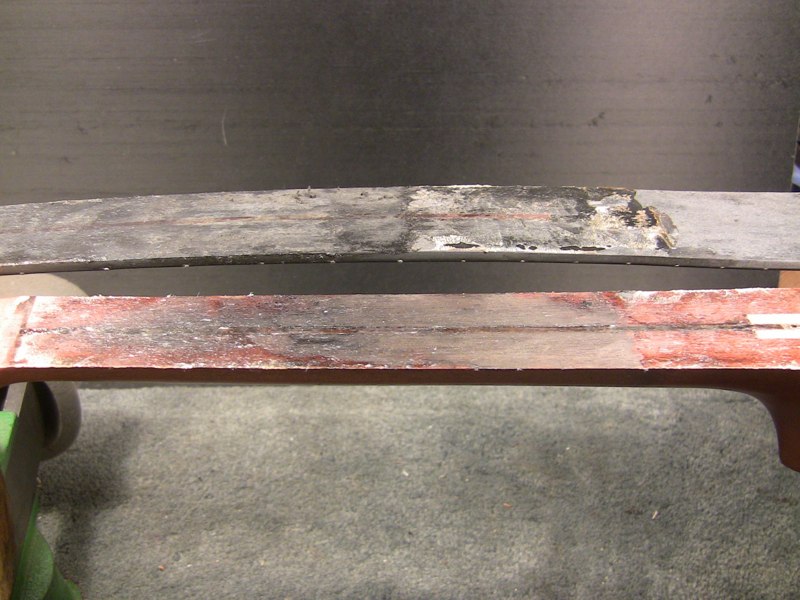
The neck is severely warped
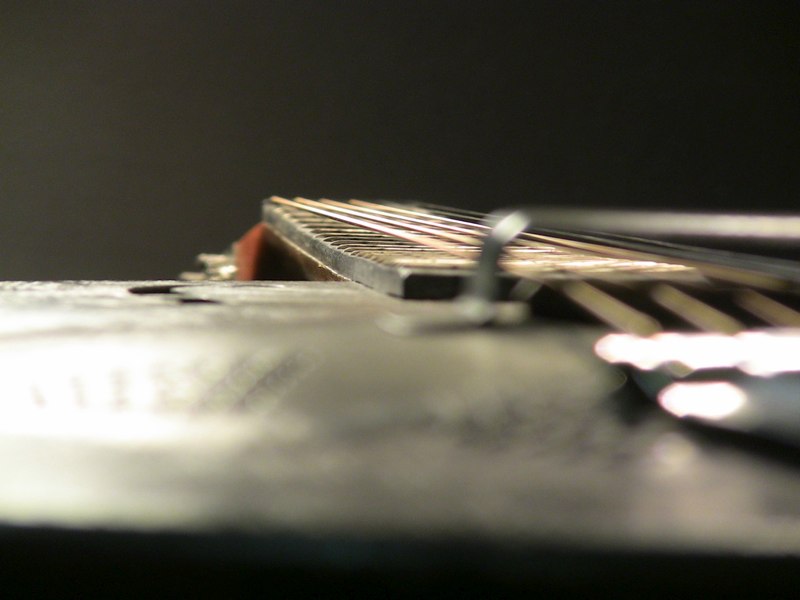
the warped neck has raised the action and decreased the break angle of the strings over the bridge.
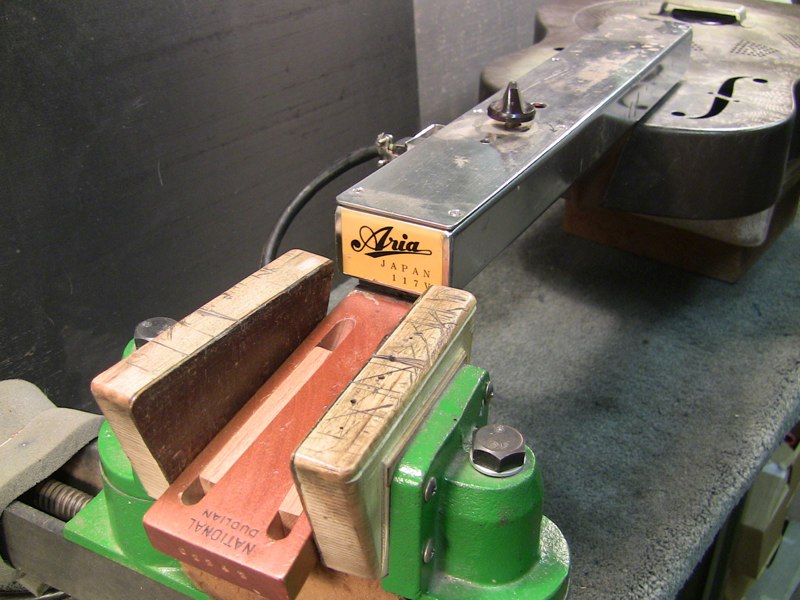
A heating element is used to soften the fingerboard glue joint
The fingerboard came off cleanly with no damage
the glue has been scraped away
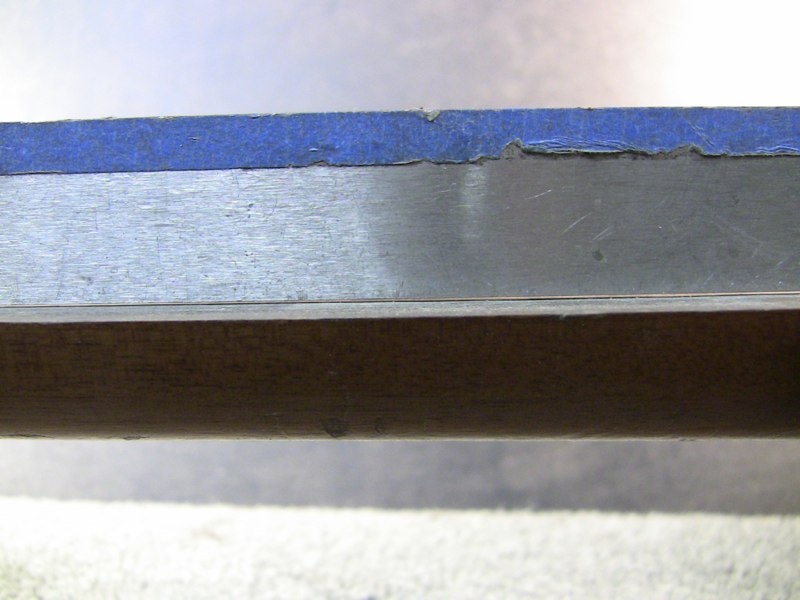
a straight edge shows the neck shaft is still warped
along with the neck shaft the steel neck stiffener must be sanded level at the nut end.
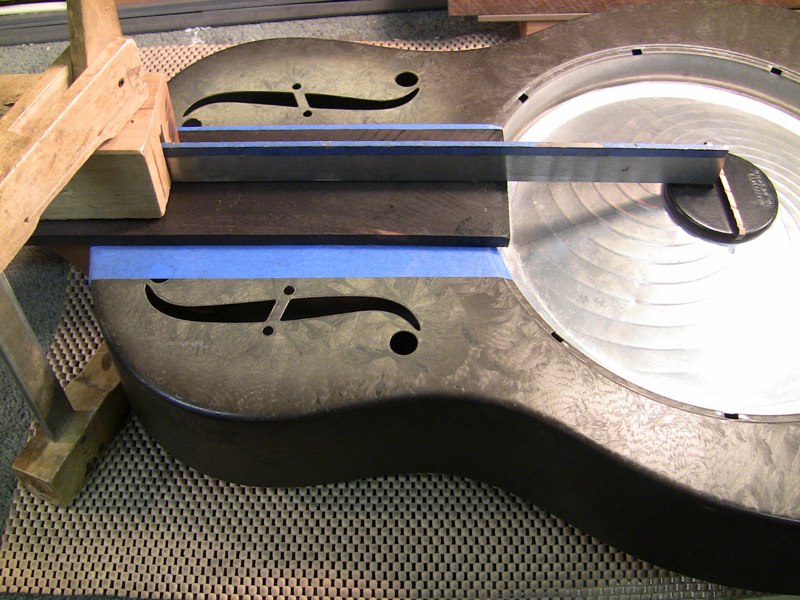
A new ebony fingerboard blank is used to check the angle
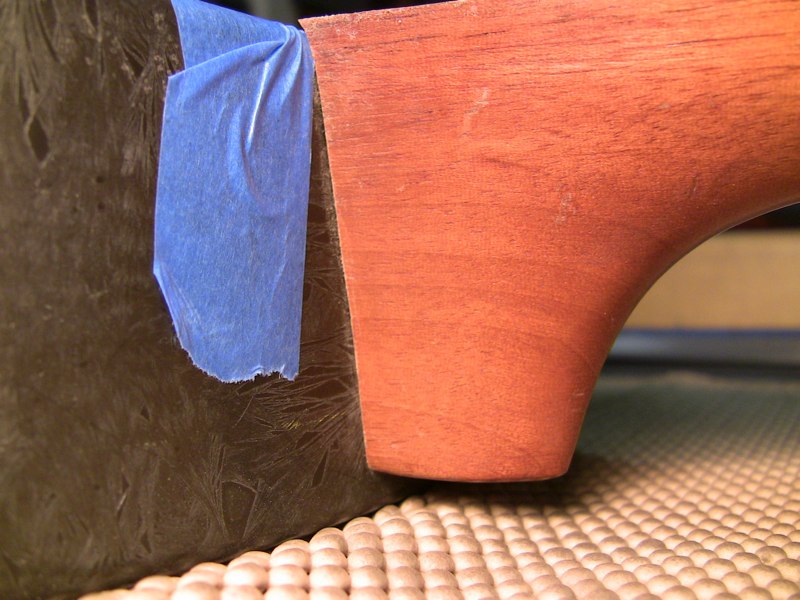
The heel is carved to provide the necessary adjustment.
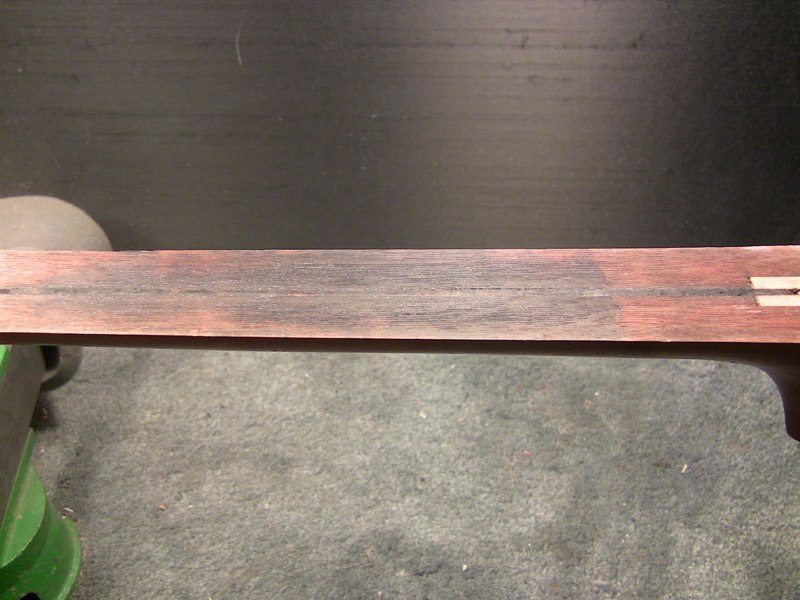
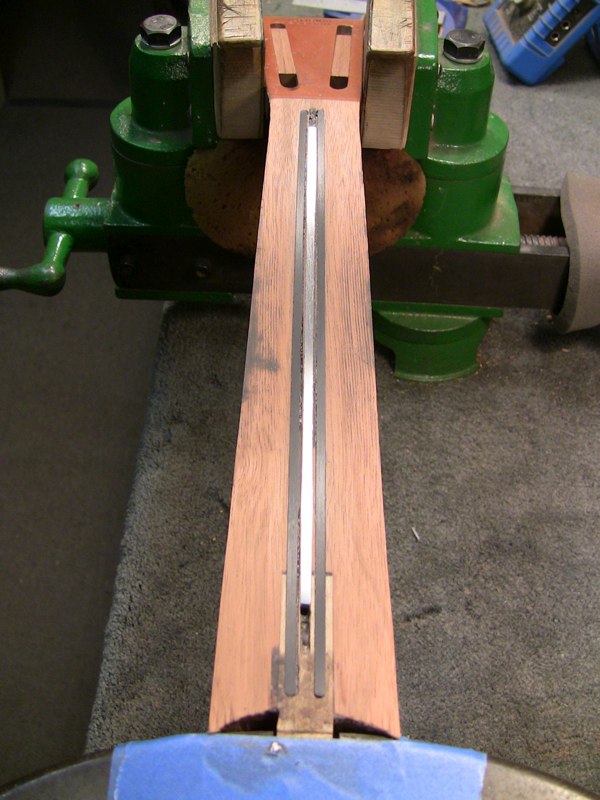
A jig is prepared to route slots for two neck stiffeners

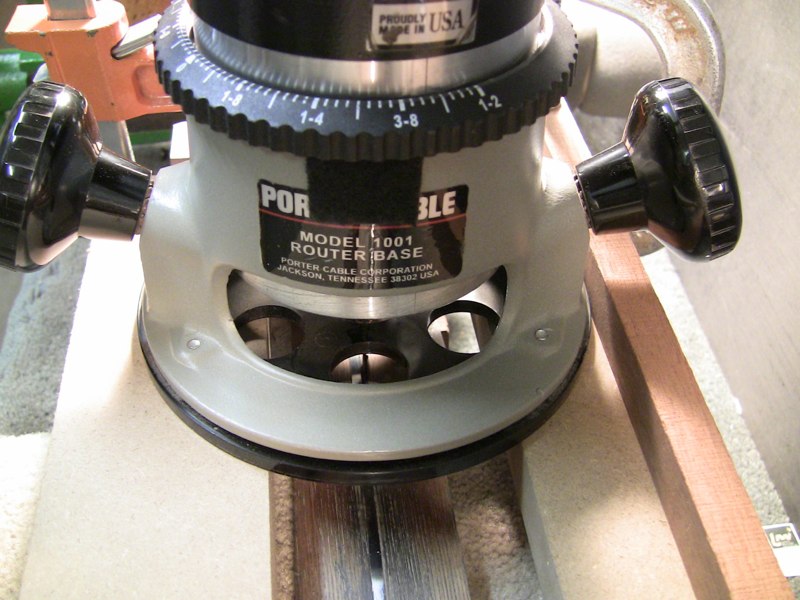
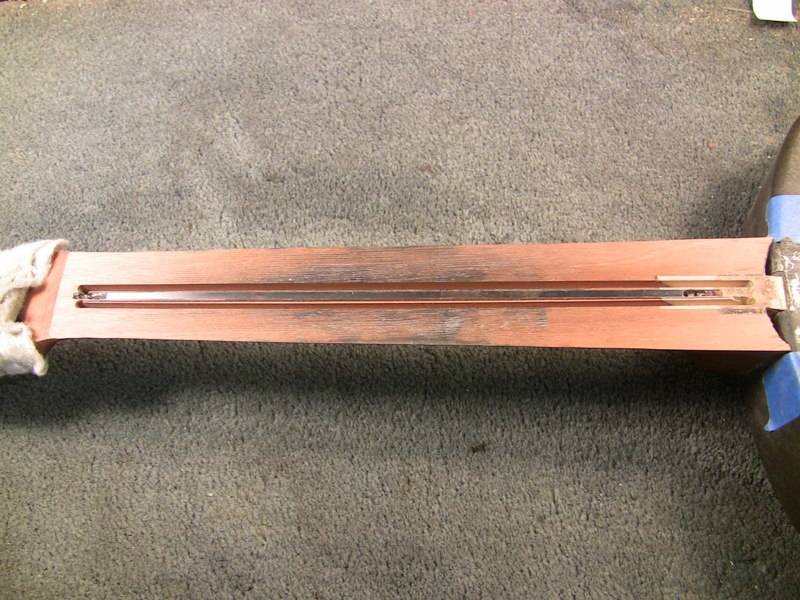
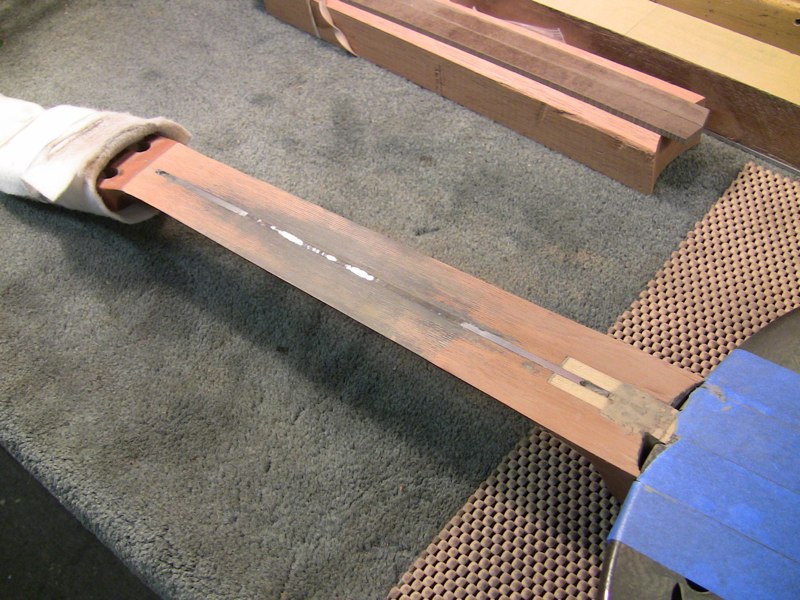
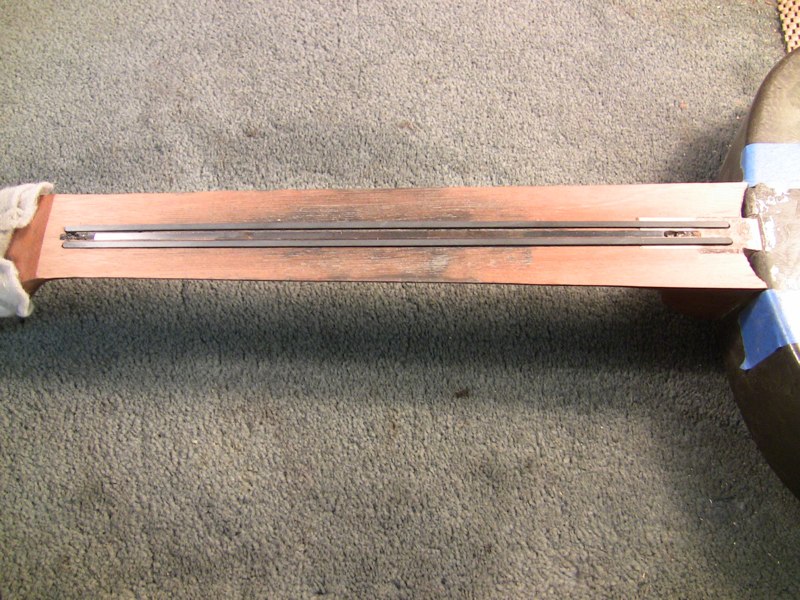
Two channels have been routed alongside the steel stiffener
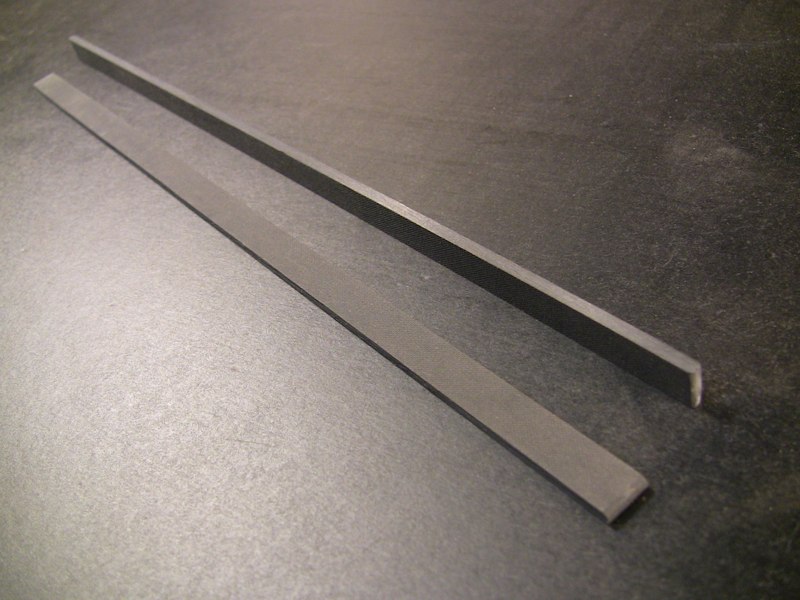
Two strips of carbon fiber stiffeners are prepared
The strips are fitted with precision
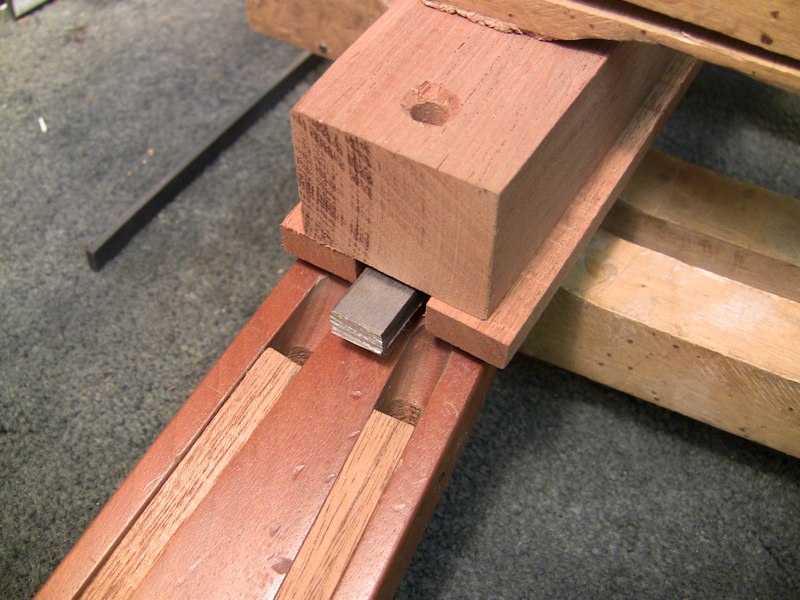
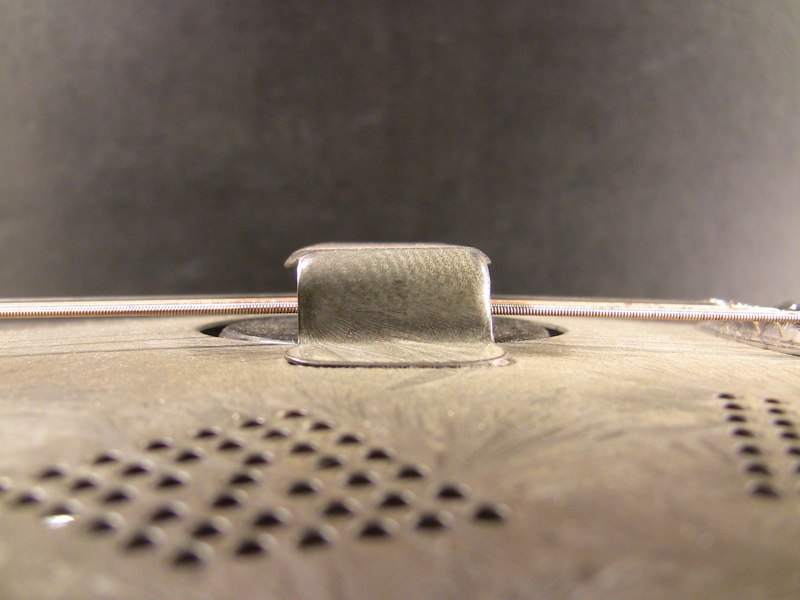
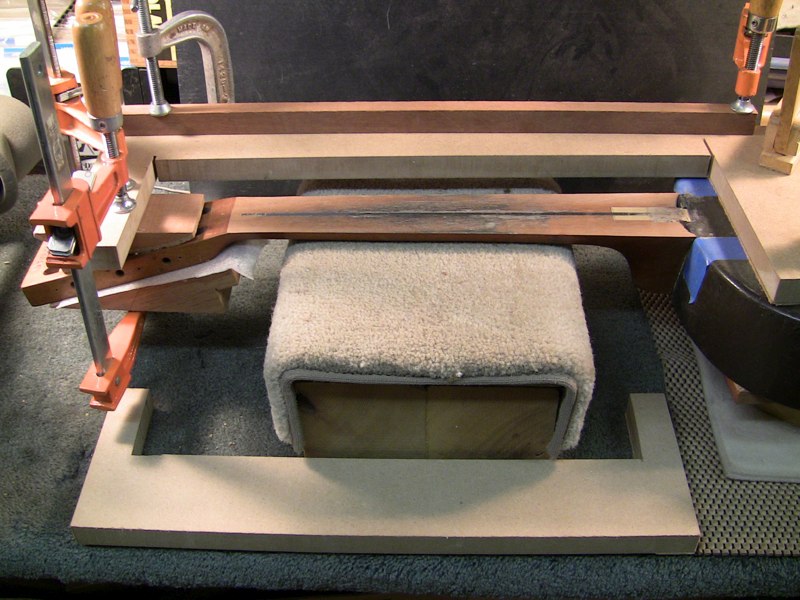
A jig insures the neck remains level as the stiffeners are epoxied in the channels. Note the hole located over a center strip that rests upon the stiffeners that are slightly proud of the surface
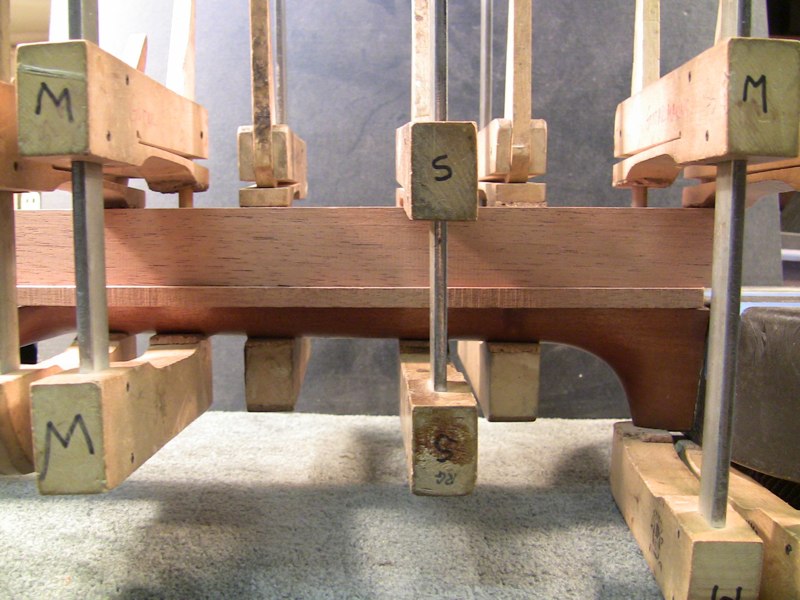
Some clamps are used to keep the neck shaft level while others press down on the center strip insuring the complete seating of the stiffeners.
A final sanding prpares the neck shaft for gluing the new fingerboard.
A lightly radiused fingeboard is fretted and markers installed
The neck angle now provides the appropriate break angle of 7 degrees