reconstructing an archlute

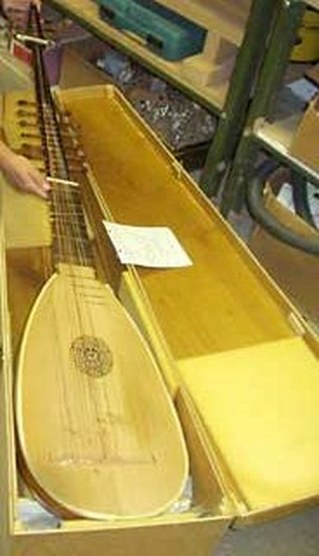
The archlute is a European plucked string instrument developed around 1600 as a compromise between the very large theorbo and the Renaissance tenor lute. Like the theorbo it has two peg boxes with long bass strings strung alongside the fingerboard that are not fretted.
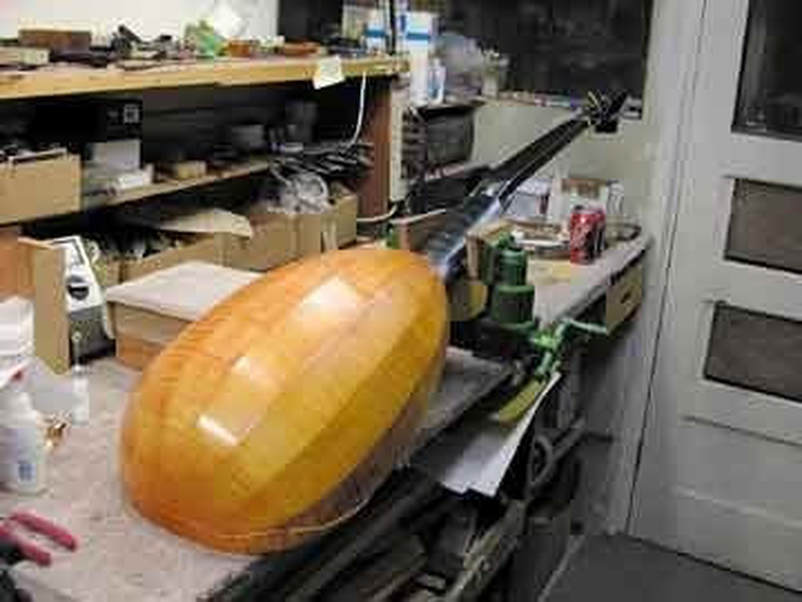
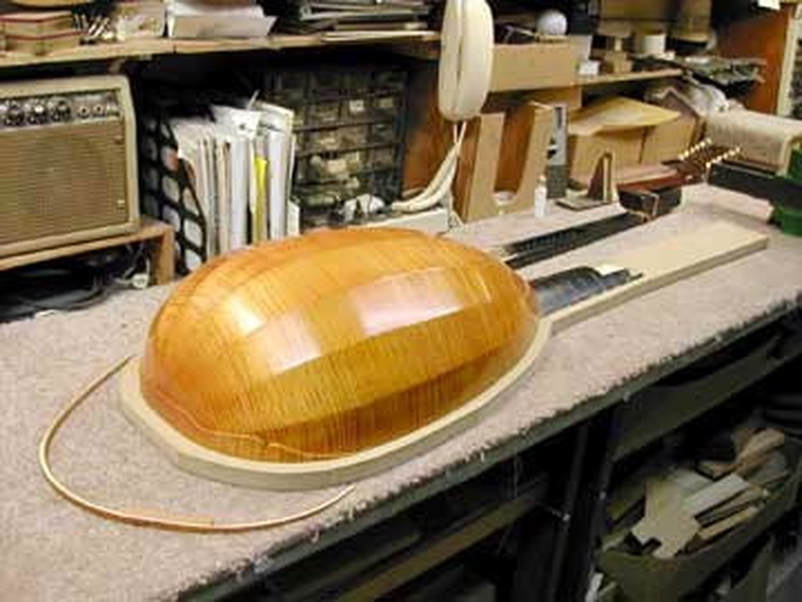
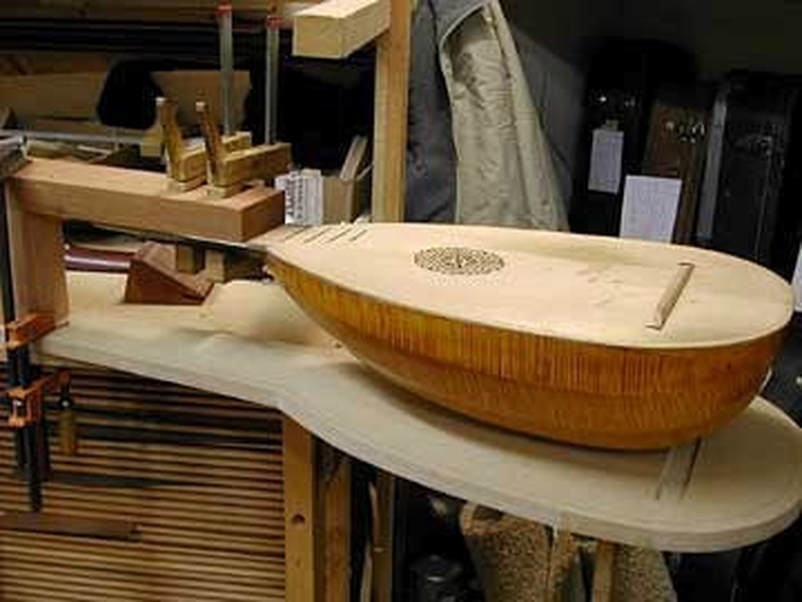
This archlute has a beautiful curly maple bowl back .
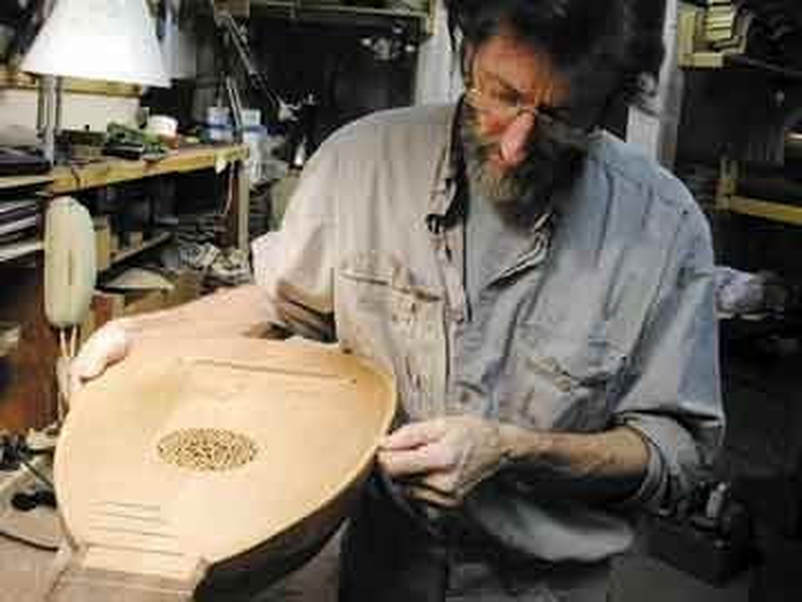
A collapsed soundboard needed to be re-braced. After removing tape that bound the soundboard edge I parted the soundboard from the bowl.
The soundboard was in fine condition except for being braced inadequately.
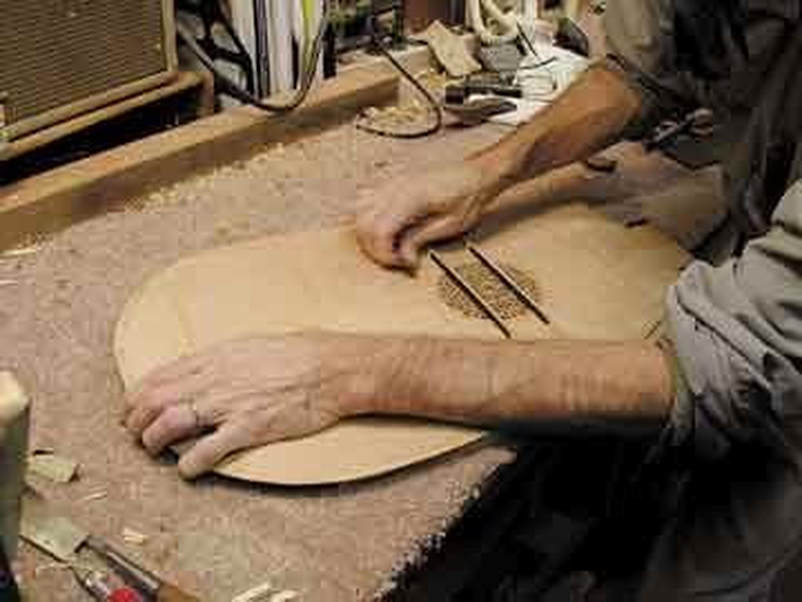
All the braces have been removed and the glue scraped away.
A clean soundboard awaits new braces.

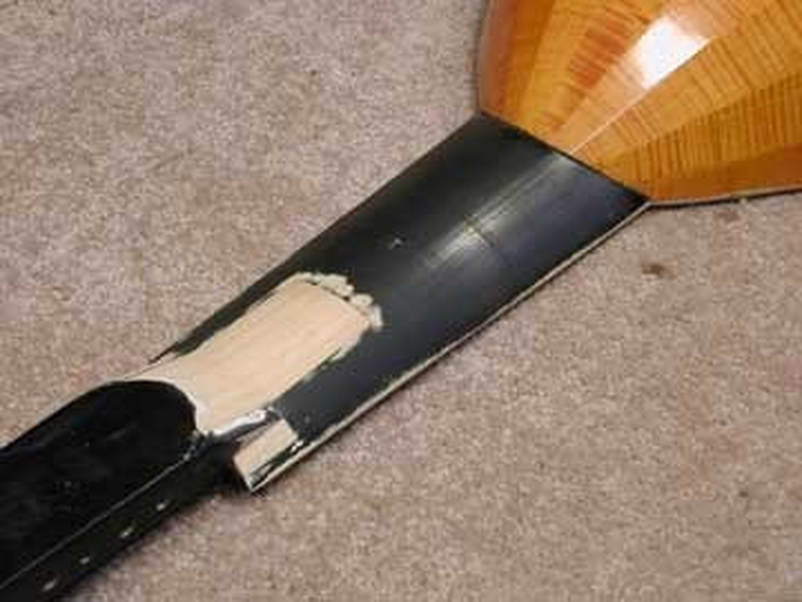
A failed neck joined also required reconstruction. A long maple block provides a tenon for the new neck joint.
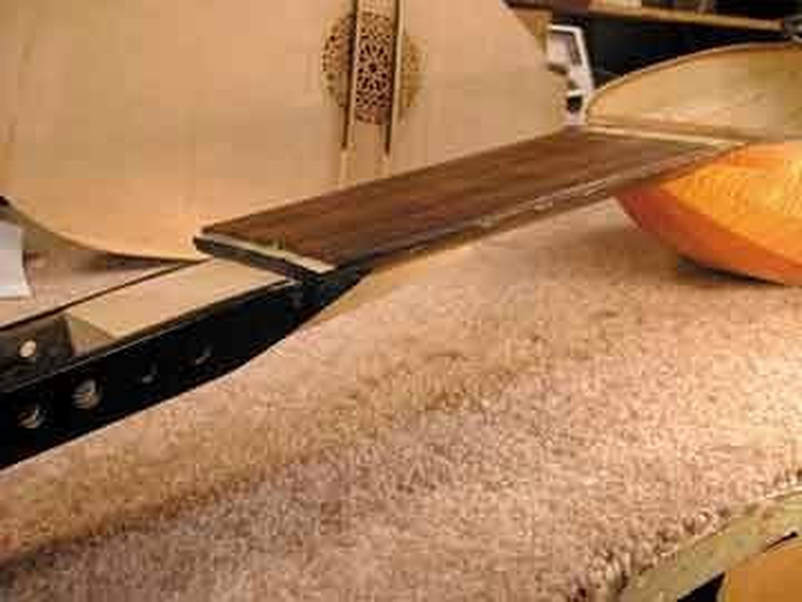
The maple block extends deep into the peghead as well as the neck shaft.
It is then chiseled, filed and sanded to fit the curved neck shaft.
It is now ready to stain and lacquer.
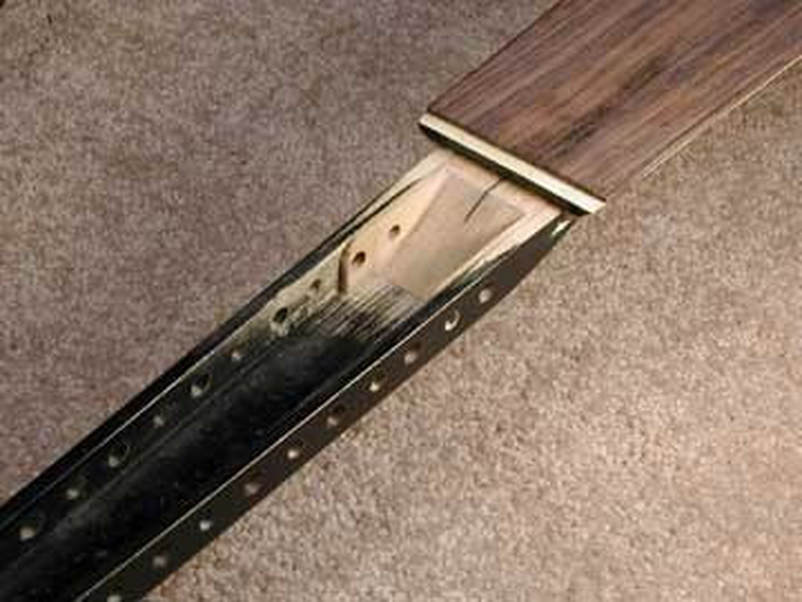
The tenon is chiseled to allow clearance for the strings while preserving support.
Stained and Lacquered.
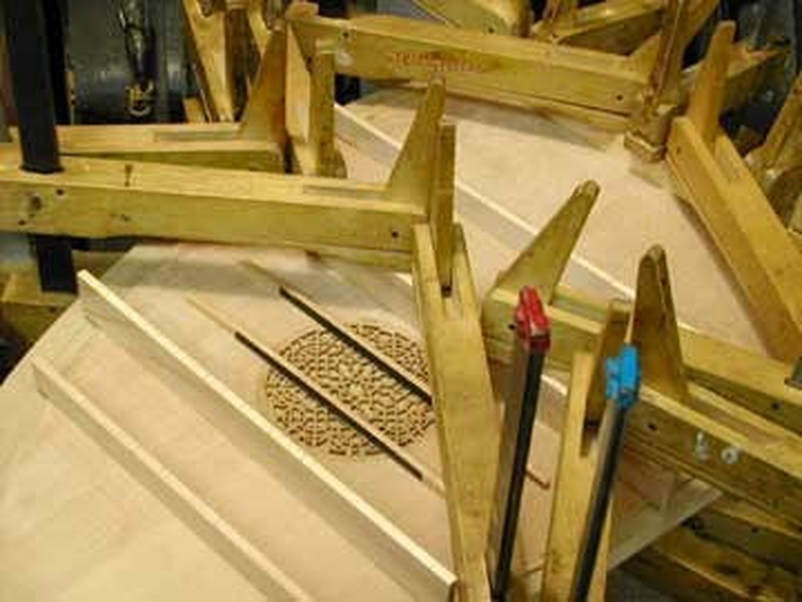
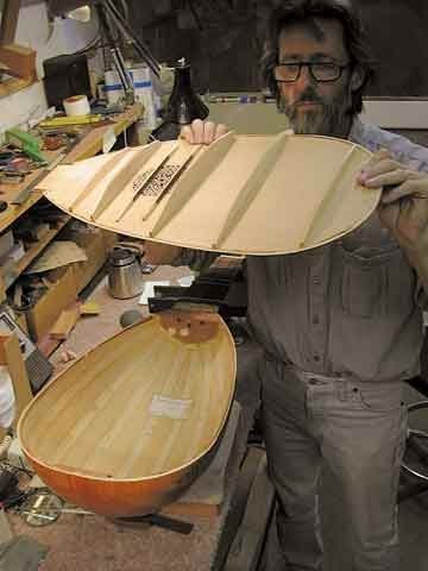
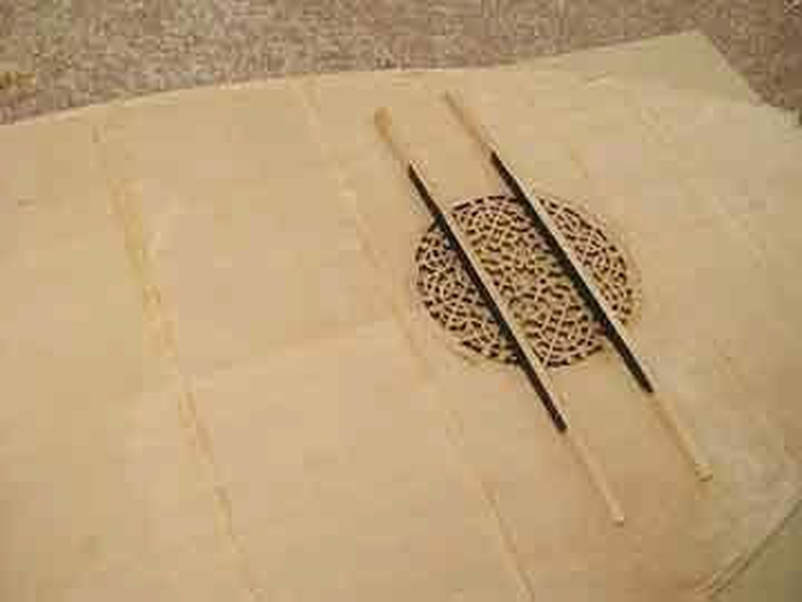
New braces are glued to the soundboard.
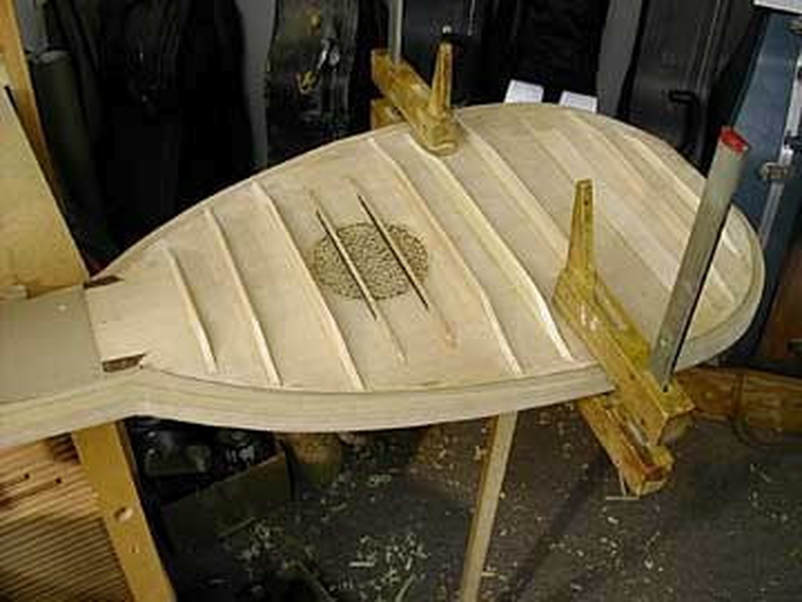
Several more braces than the soundboard originally had were installed.
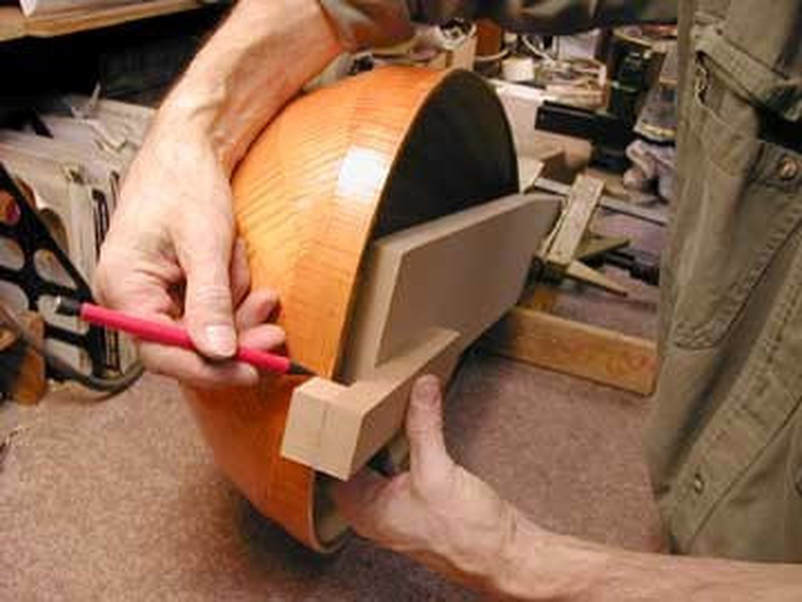
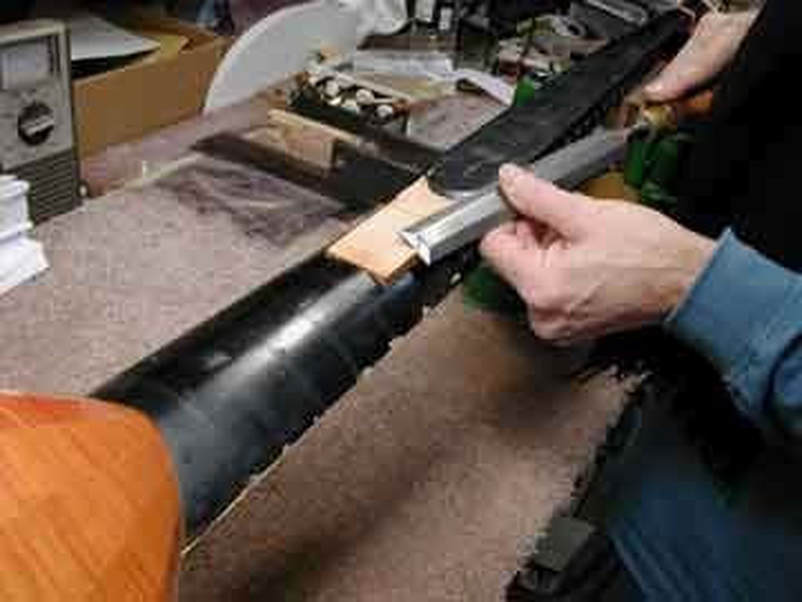
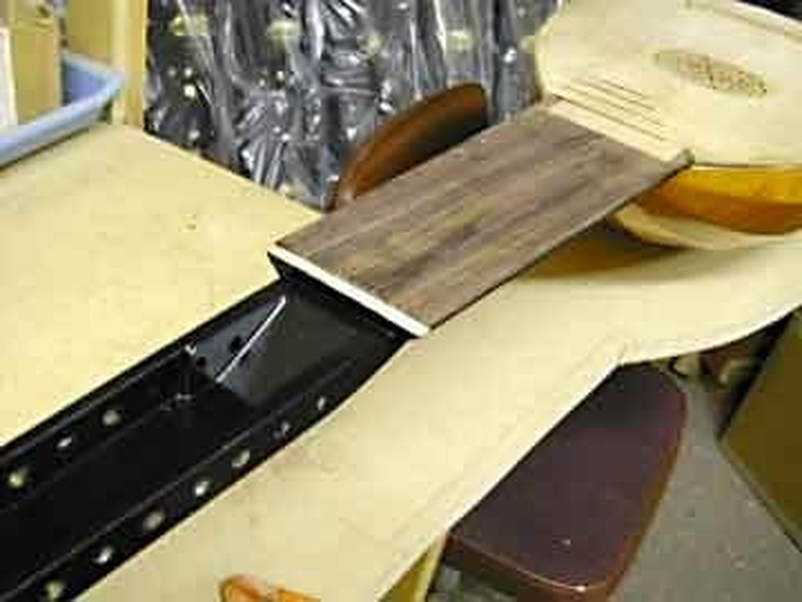
The instrument had high action due to a poor neck angle. The only way to correct this was to remove a portioon of the bowl allowing the soundboard to seat at a different angle. A jig was constructed to determine the precise amount to remove.
Shown here is the tapered sliver that was removed.
Kerfing is now installed to provide gluing surface for the soundbord.
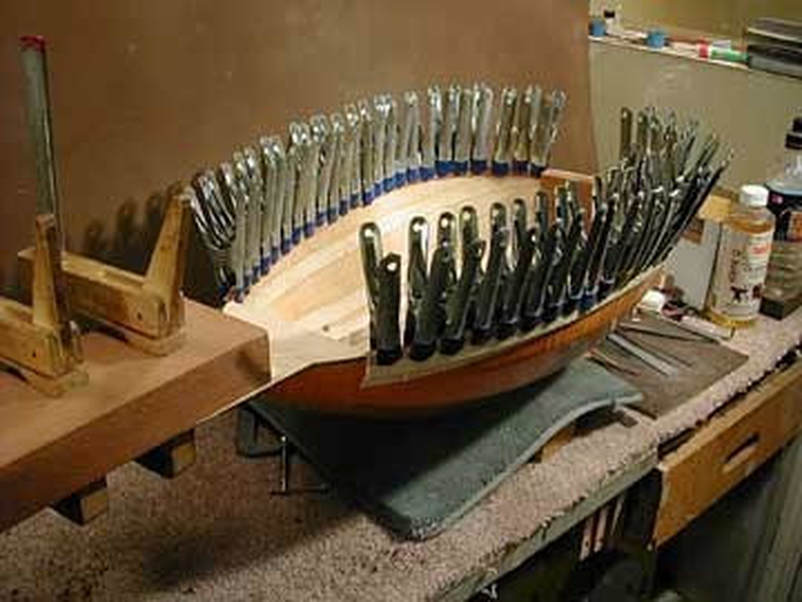
The soundboard has been glued back on.
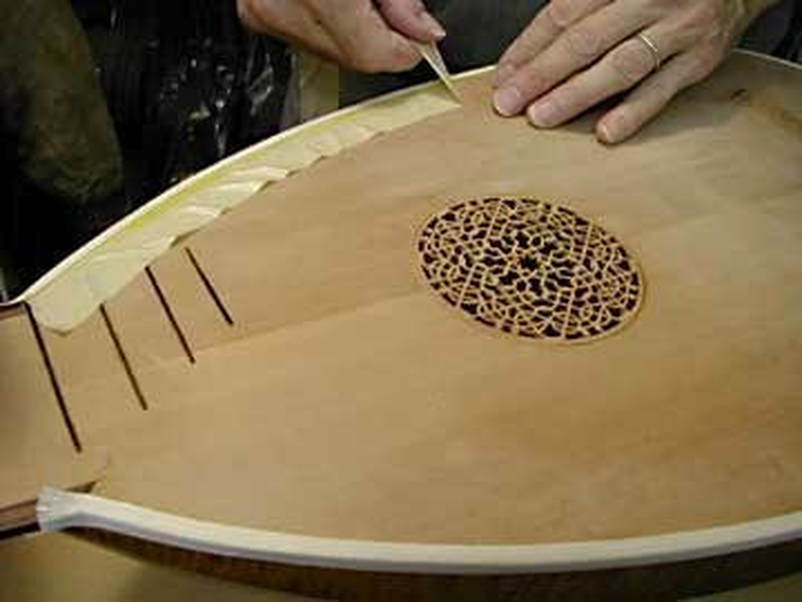
Binding tape has been glued on the soundboard edge.Here I'm removing masking tape protecting the soundboard from being stained with glue.
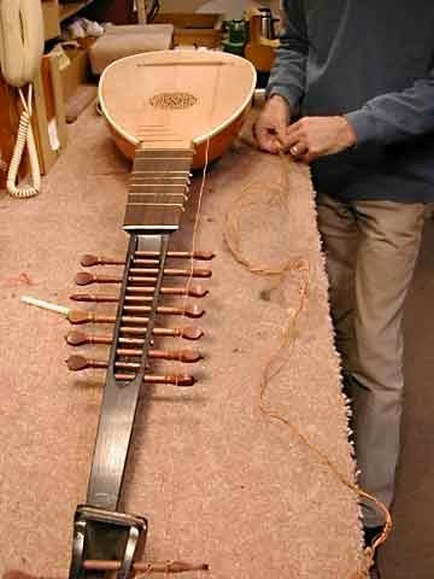
All that remains is the tedious task of restringing and setting up.
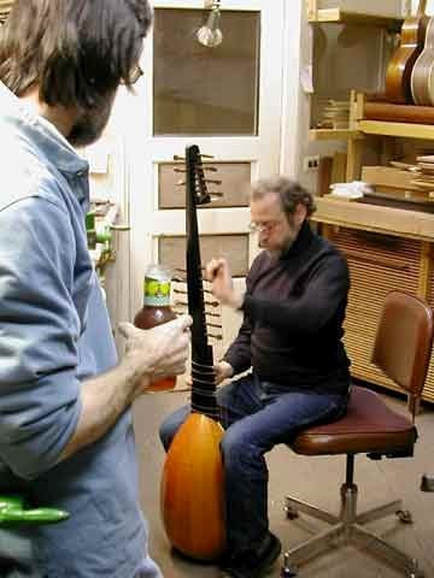
The owner arrives to try out his reconstructed instrument.

He delights in the ease of play, accurate intonation, and rich tone.