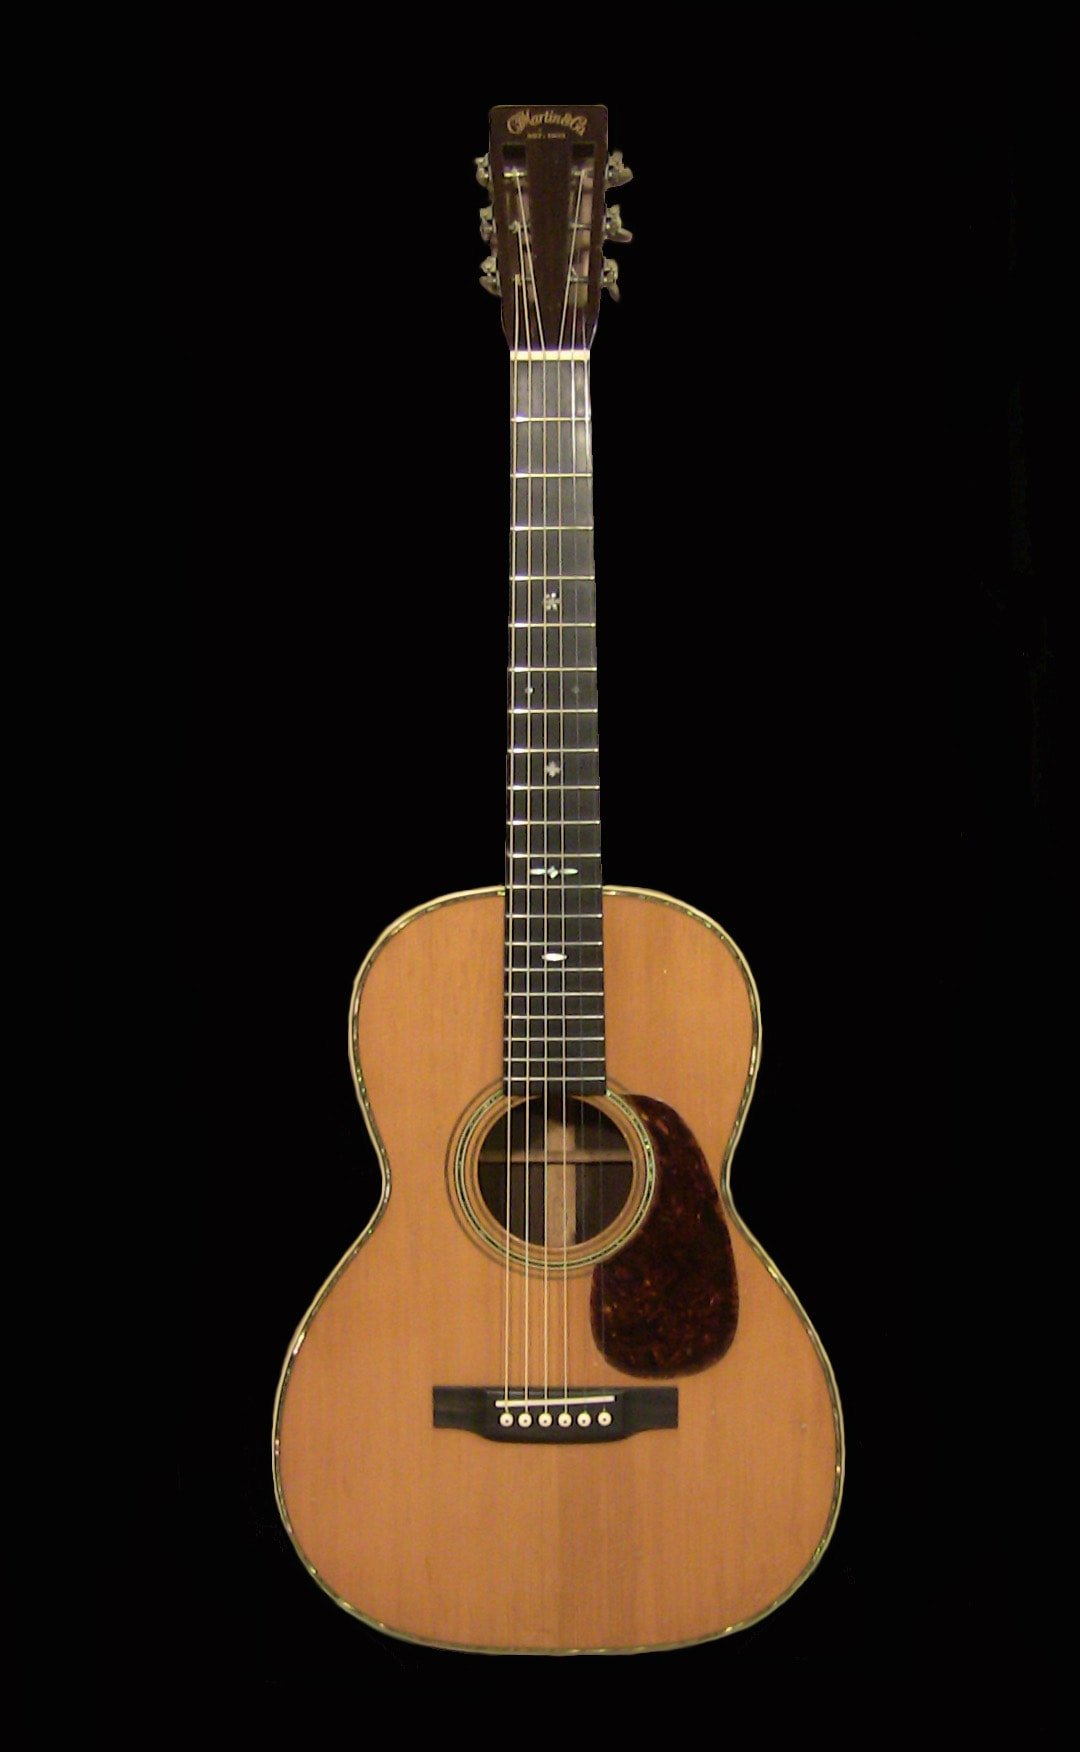
resetting a neck -1932 Martin

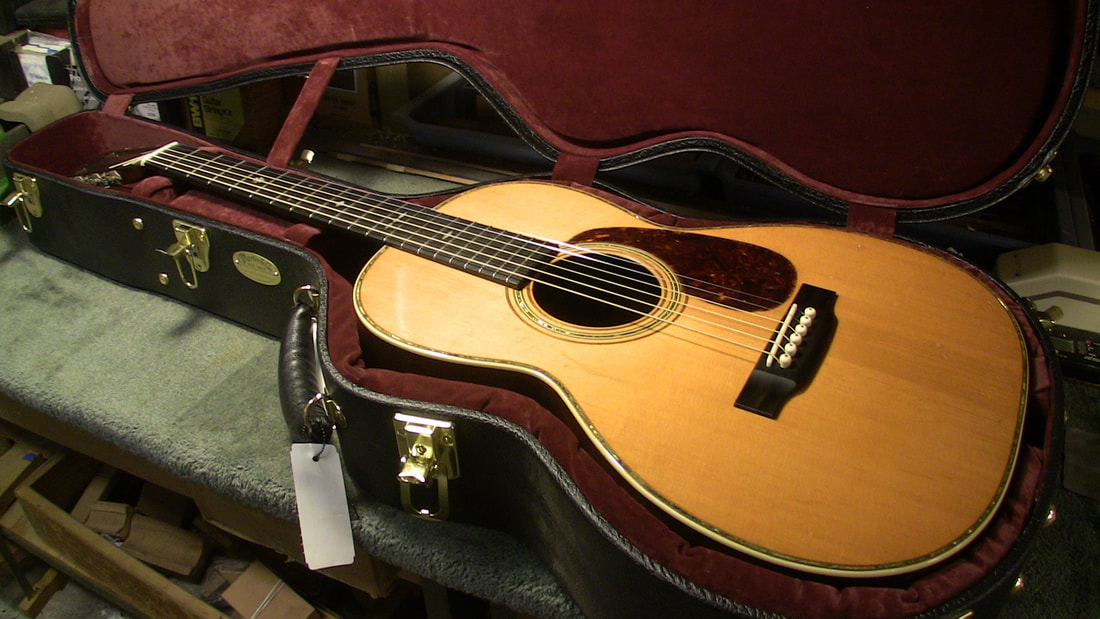
This 1932 Martin 00-40 is about to be returned to its present caretaker, April Gornik, an extremely fine artist and musician..This fine instrument is fortunate to be in her care. www.aprilgornik.com
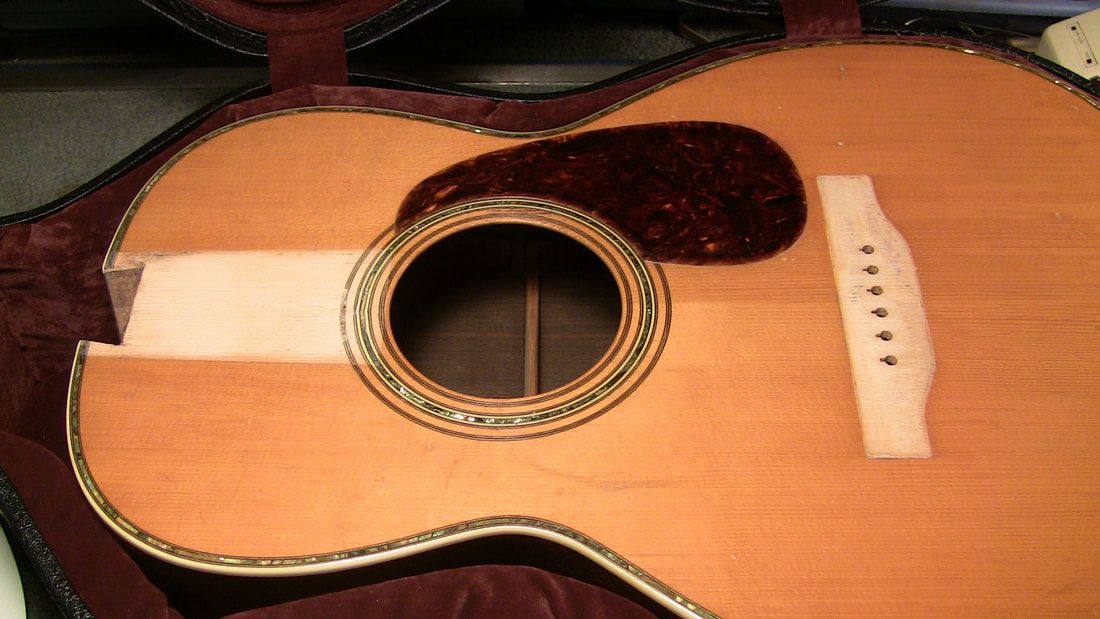
The guitar needed a neck reset and its bridge replaced. Here it is after carefully removing them
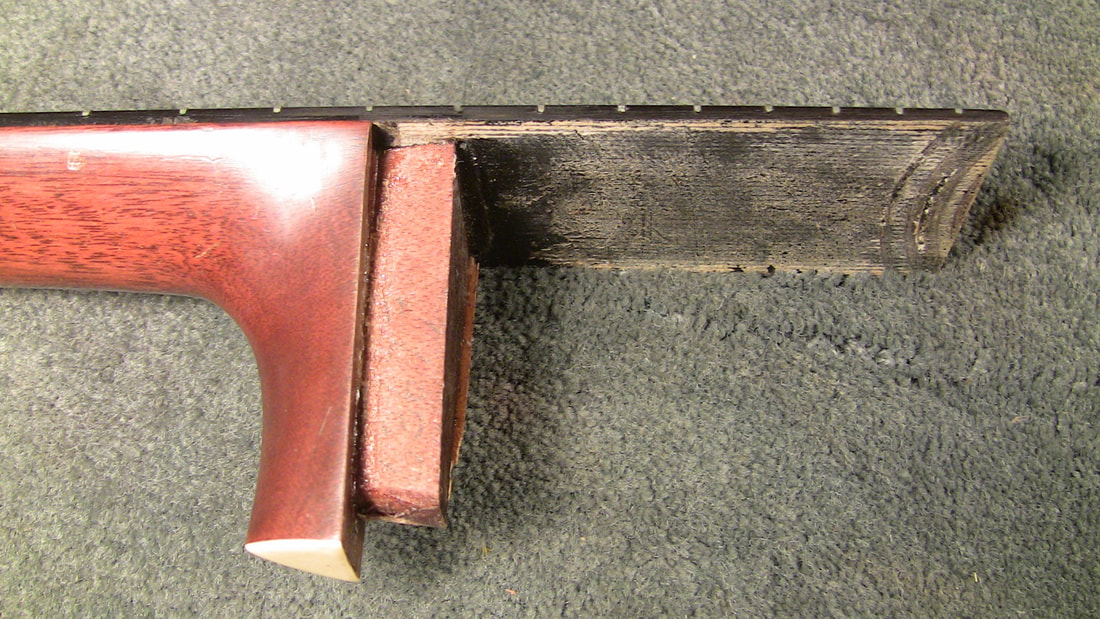
Here is the neck joint and fingerboard extension after removing the glue.
A shim on one side of the dovetail must be removed. A new shim will replace it to preserve the dovetails symmetry

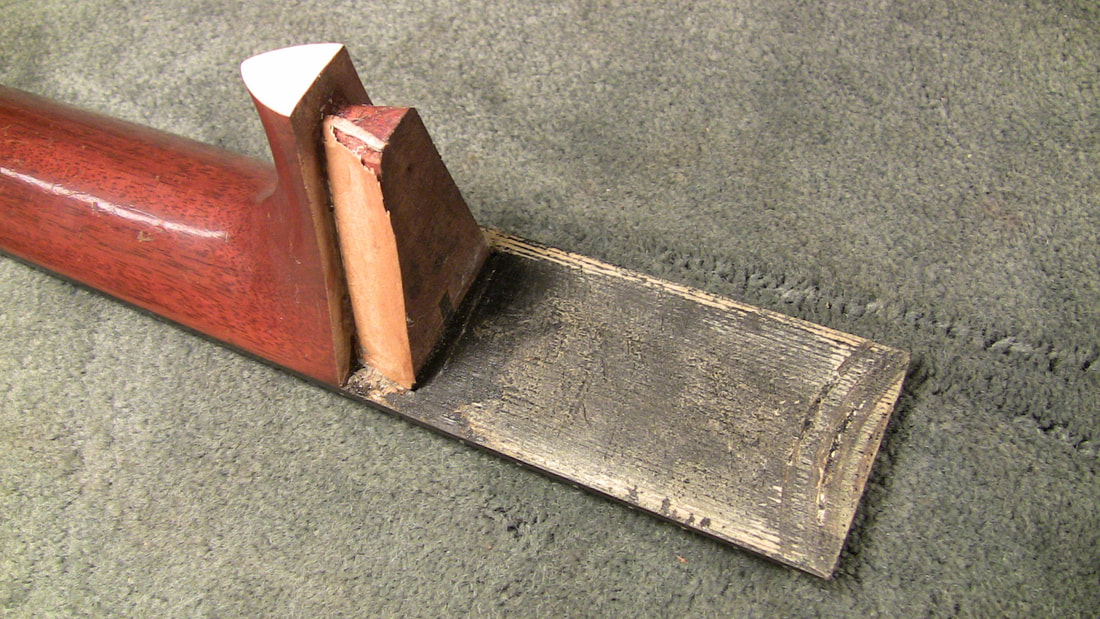
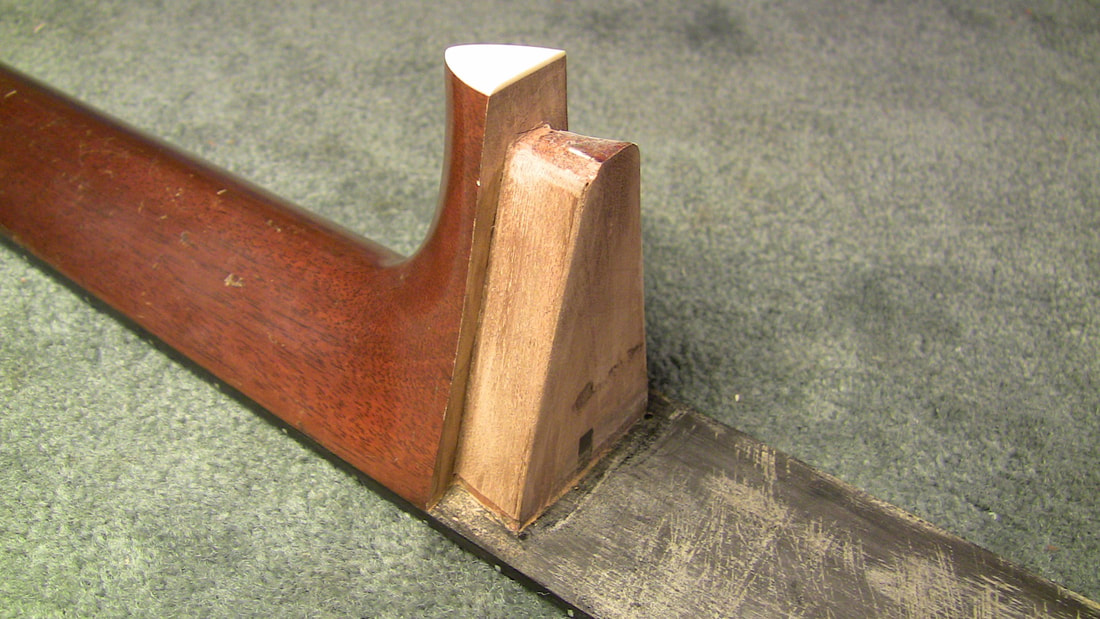
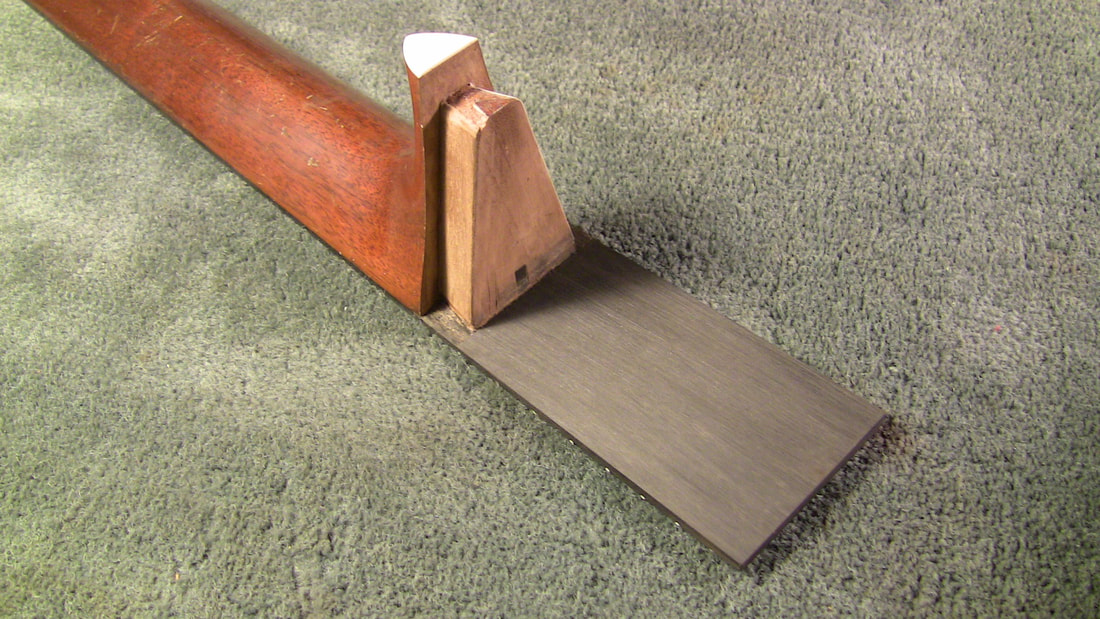
The heel has been carved with great precision in order for the neck to fit perfectly. The holes drilled through the fingerboard provided access to the glued joint during the steaming process.
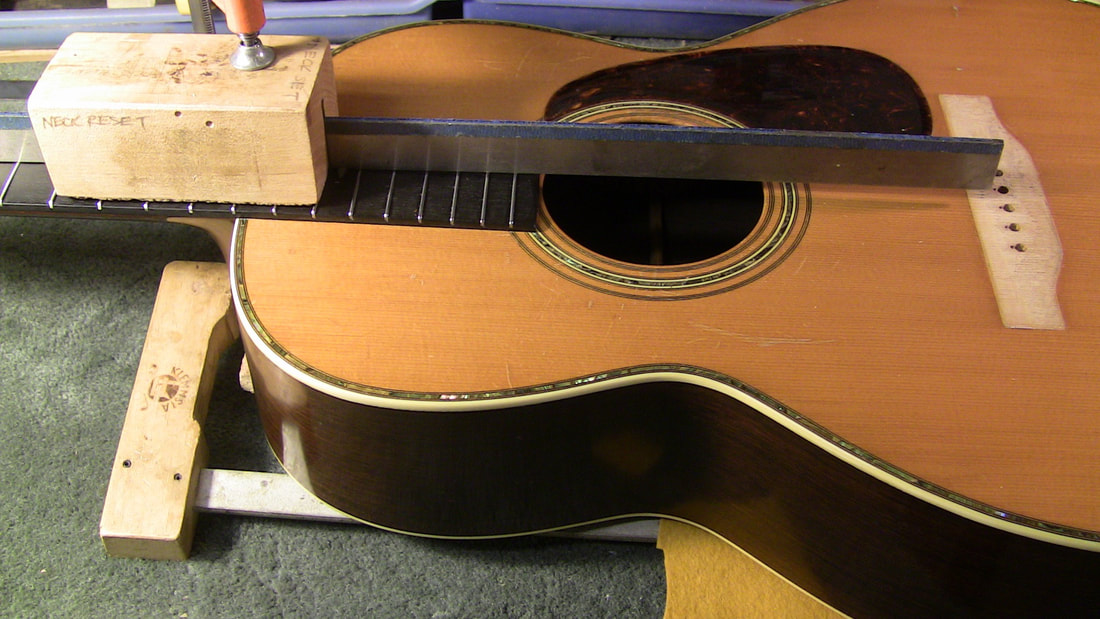
A straight edge, a body clamp, and a slotted caul is used to measure the space between the end of the straight edge and the soundboard. The new angle will now allow for a full size Martin bridge
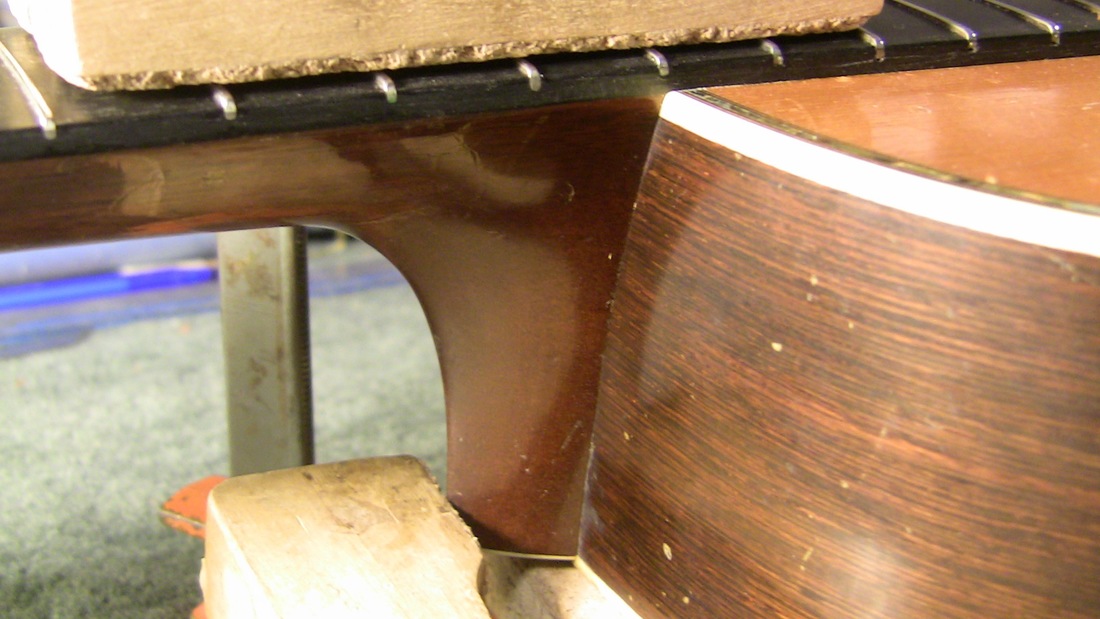
In addition to the neck angle being exact the edges of the heel must fit the sides perfectly leaving no gaps. When done correctly only a trained eye would know the neck was ever removed.
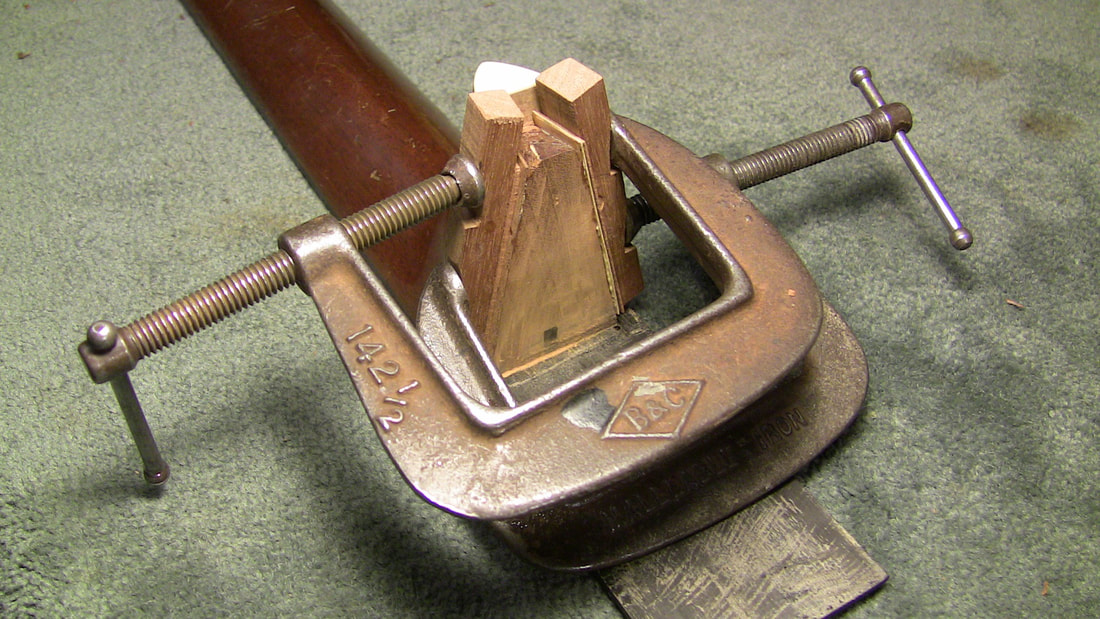
Now that the heel has been carved the dovetail needs to be reconstructed. Two shims are glued to the sides of the dovetail. The shims have different thicknesses to correct the asymmetrical joint
The shims are then chiseled and sanded until the sides of the tenon make complete contact with the sides of the mortise. To achieve this the neck is repeatedly fitted with strips of carbon paper.
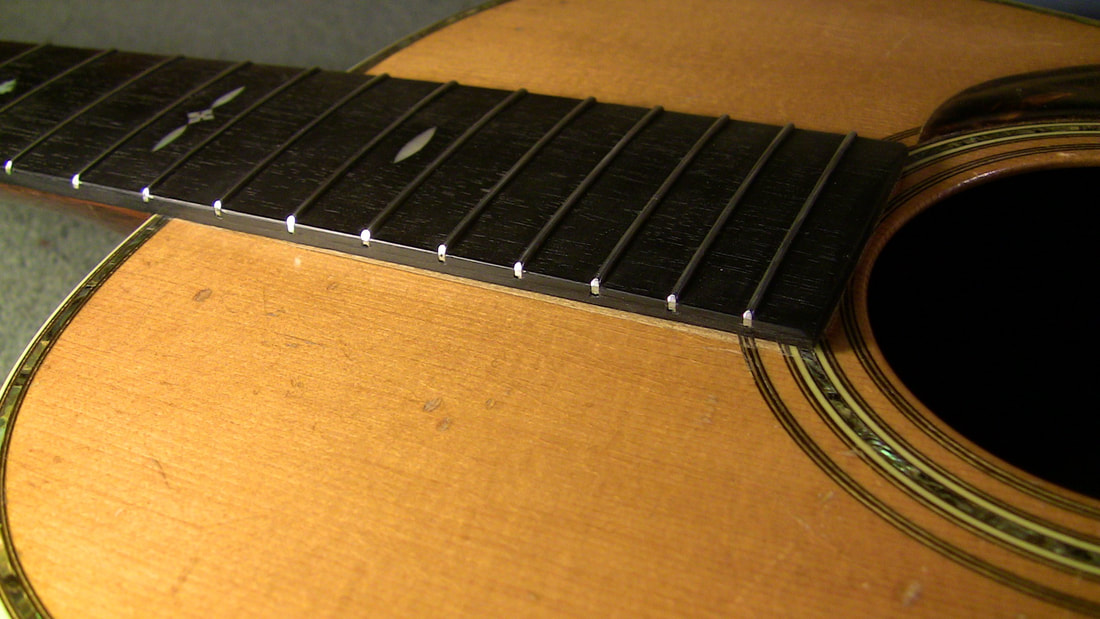
The new neck angle now presents a problem that needs correcting. The portion of the fingerboard extending over the body now rises forming a wedge shaped gap that needs to be filled.
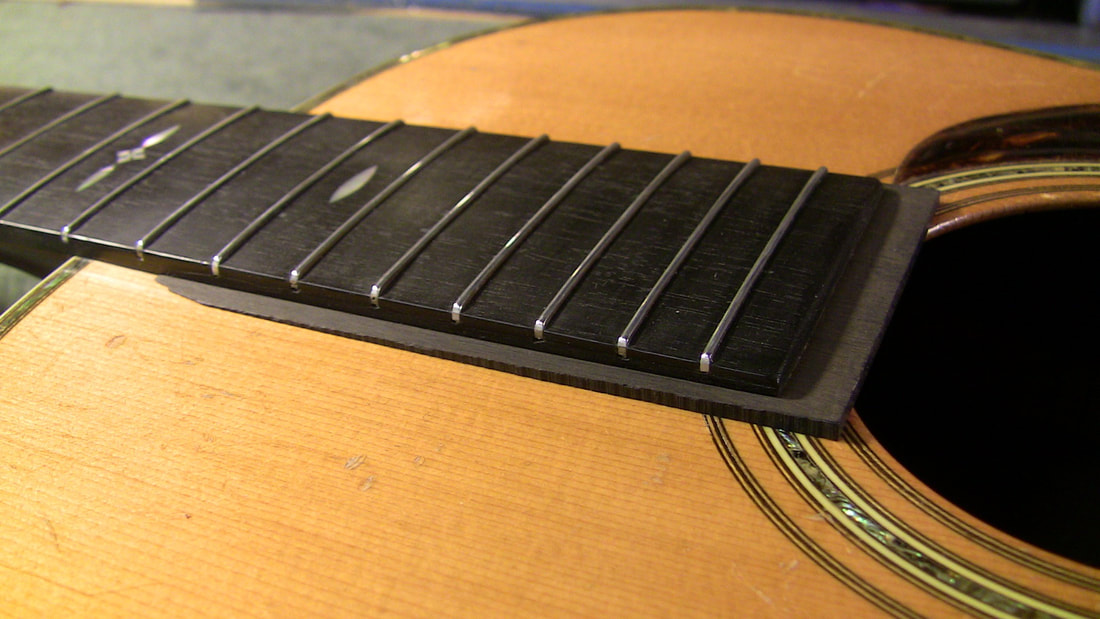
After determining the degree of taper a wedge insert is made of ebony.
The ebony insert is then glued to the fingerboard
Trimmed and lacquered, the ebony insert is barely noticeable.
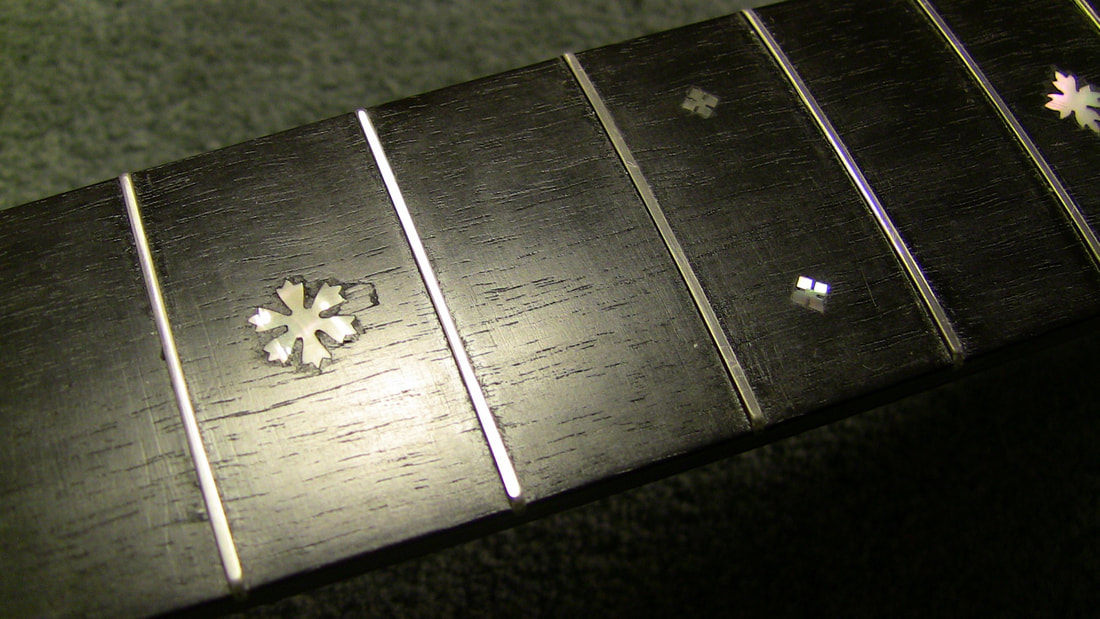
The bar frets were loose and had to be re-glued. The height of the frets were irregular as can be seen here. An abrasive level block scuffed the tops of the taller frets leaving others untouched.
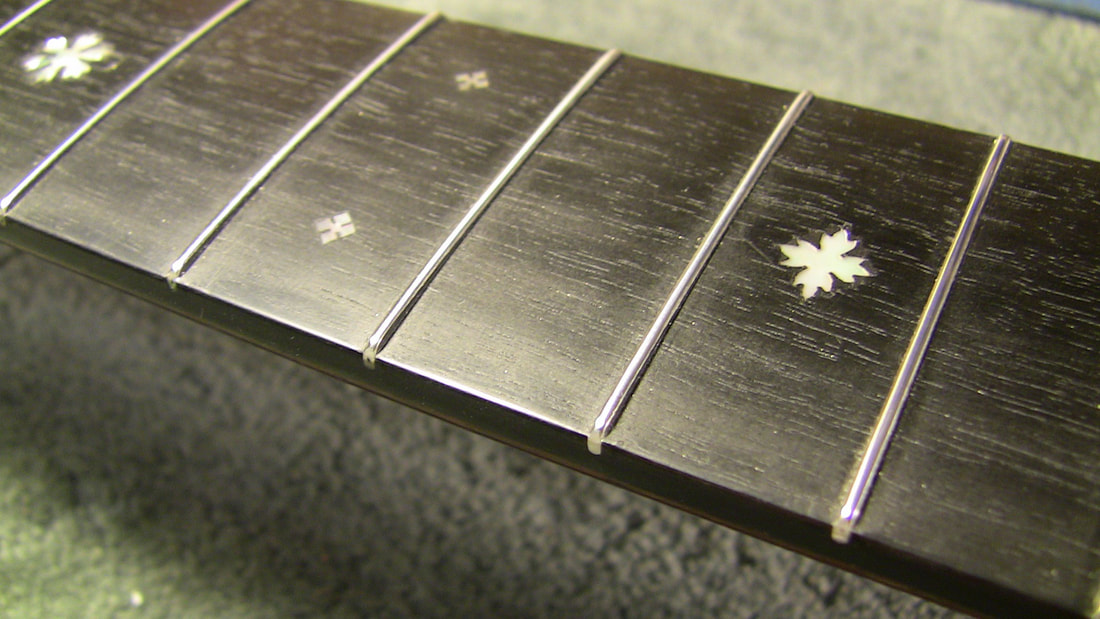
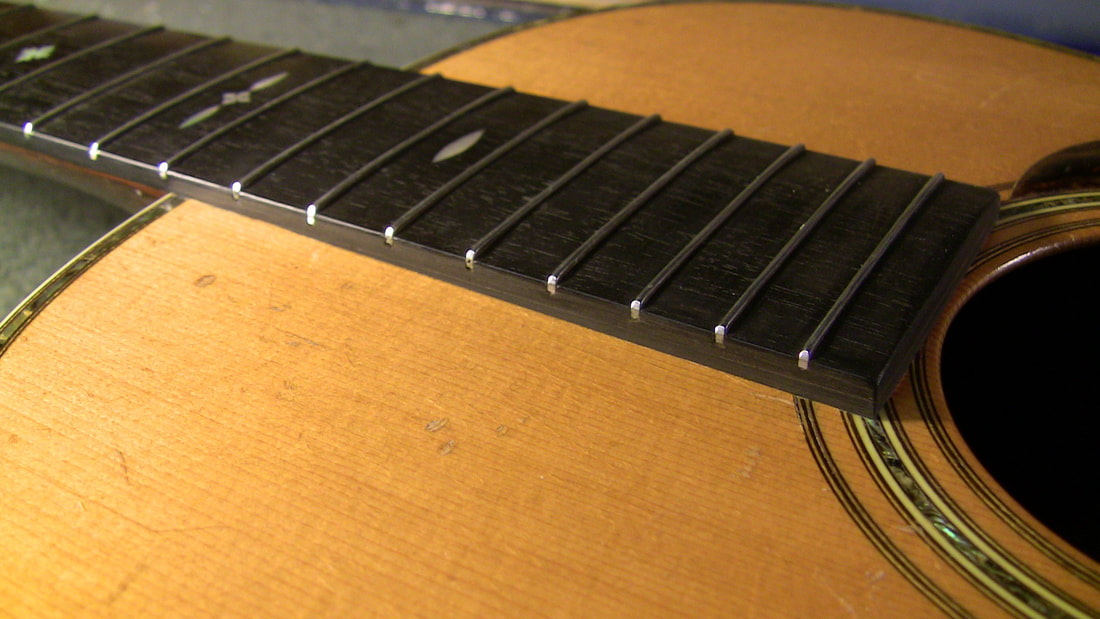
After securing and leveling the bar frets they were recrowned and polished.
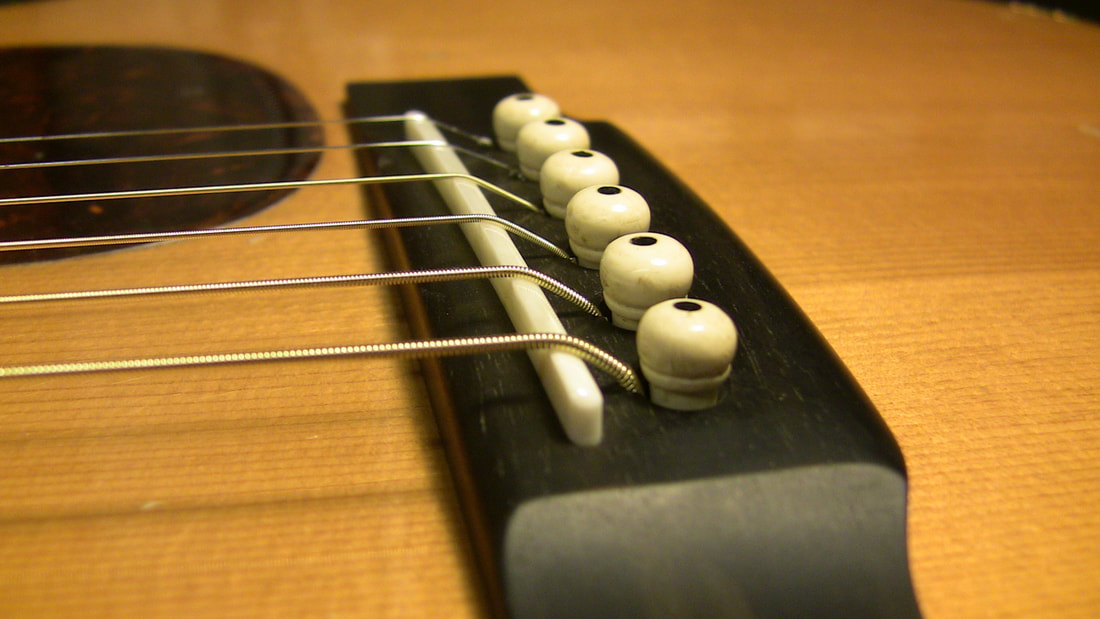
A new bridge has been installed and a new bone saddle has been made.The instrument now has low action with optimum saddle height. The crown of the saddle has been adjusted for accurate intonation.This wonderfully crafted instrument, now 80 years old, enjoys a new life.
“I got the Martin back yesterday and I am beyond happy with it. You did a magnificent job. The action is impeccable and the sustain is crazy! More thanks than I can express.”Warm regards, April