repairing a bulging soundboard

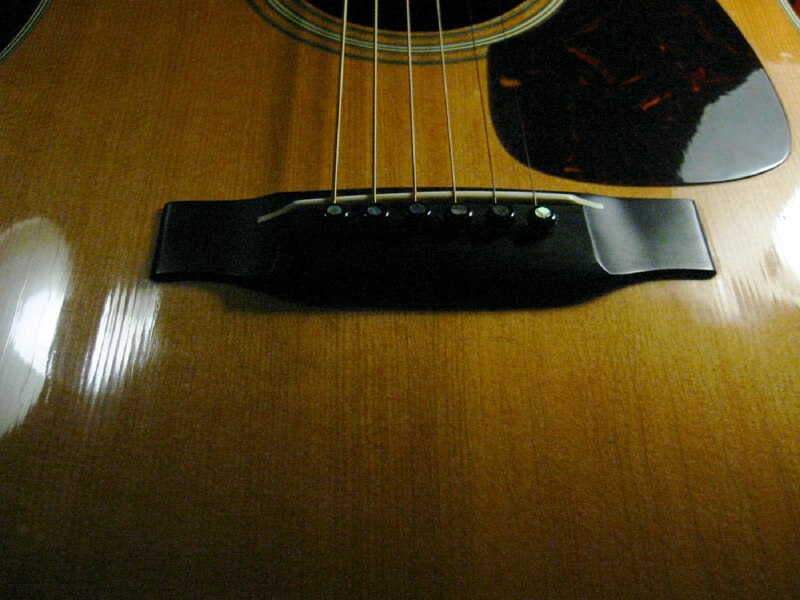
A slight gradual bulging of the soundboard is normal and not a cause for concern. An abrupt bulge behind the corners of the bridge however indicates a problem.
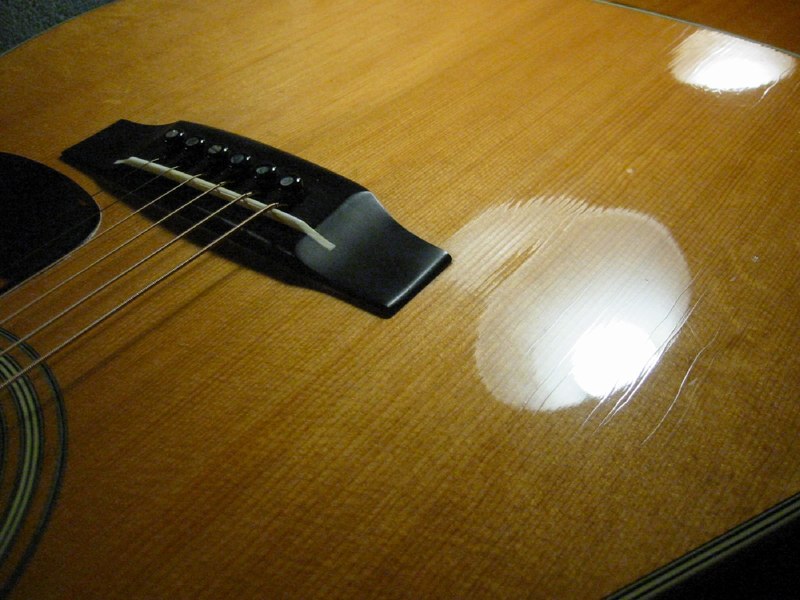
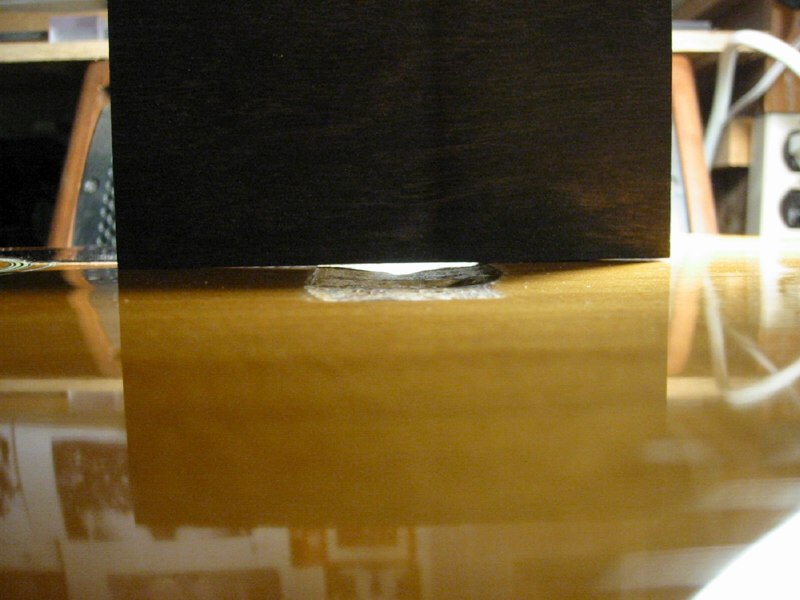
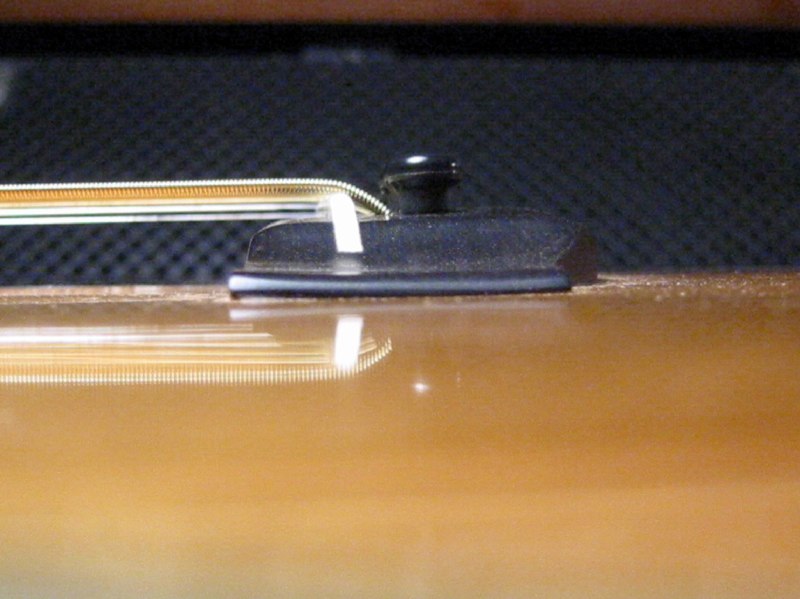
Light reflecting off the surface clearly identifies the problem.
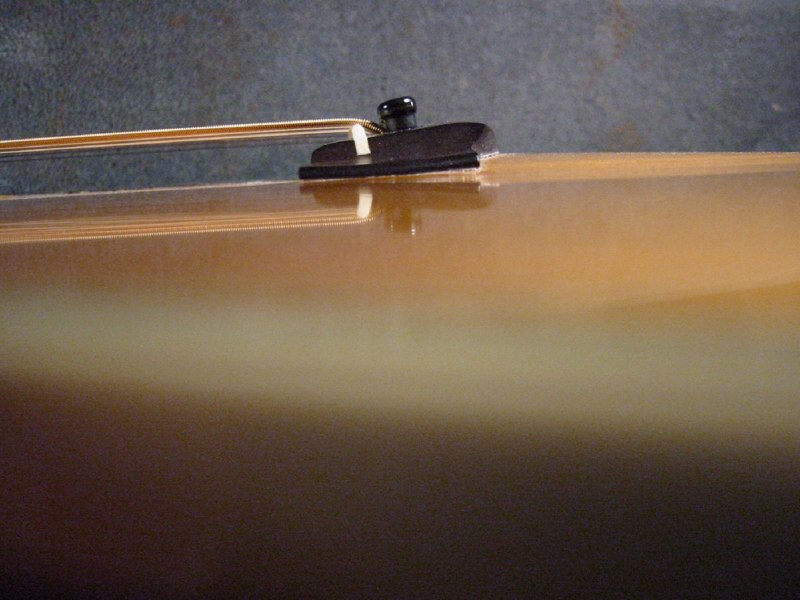
In most cases bulging at the bridge corners indicates a parting of the X braces from the soundboard. This case however suggests something more serious. Comparing the plane of the soundboard on both sides of the bridge suggests a break in the soundboard beneath the bridge.
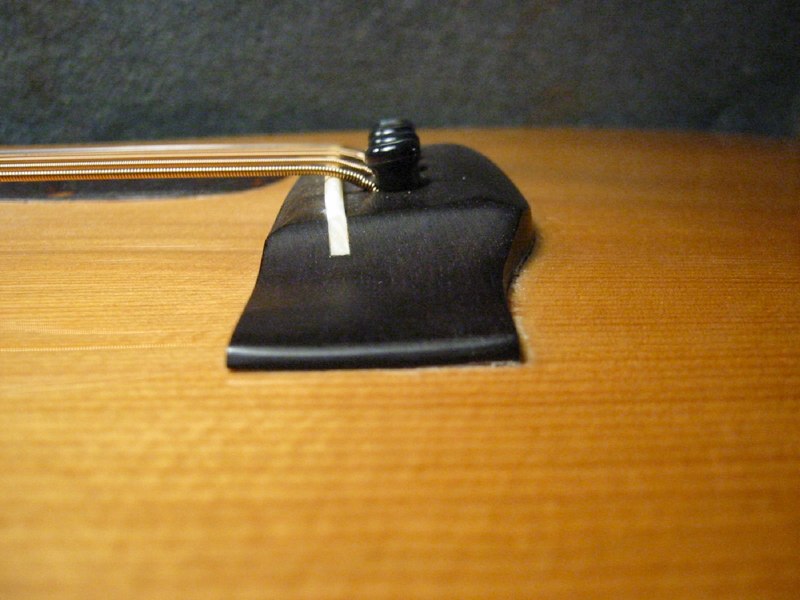
Evidence of a previous bridge removal makes me suspect a damaged soundboard.
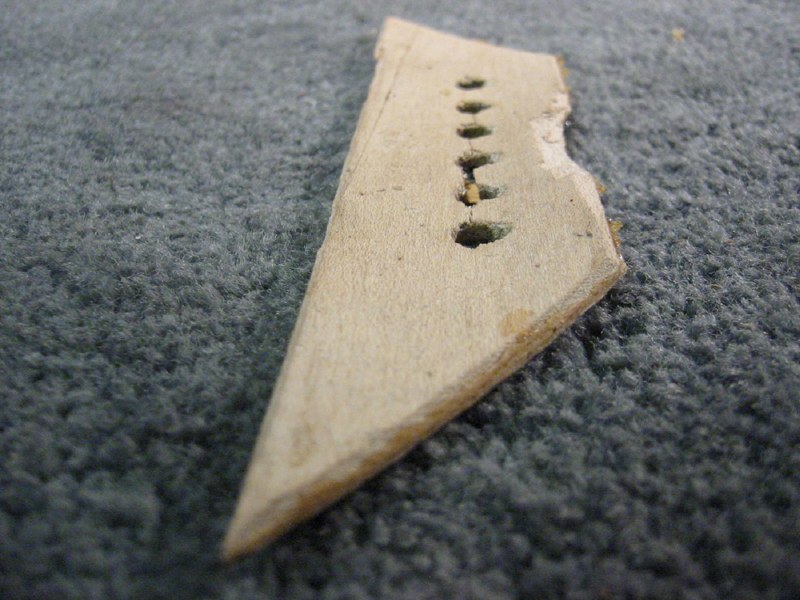
The bridge plate was distorted and needed to be removed..
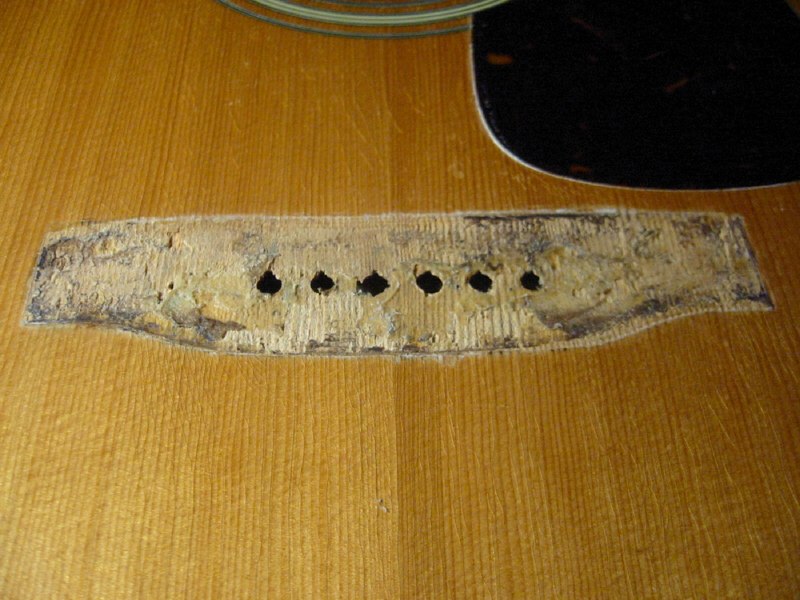
After carefully removing the bridge the damage to the soundboard from a previous repair is obvious.
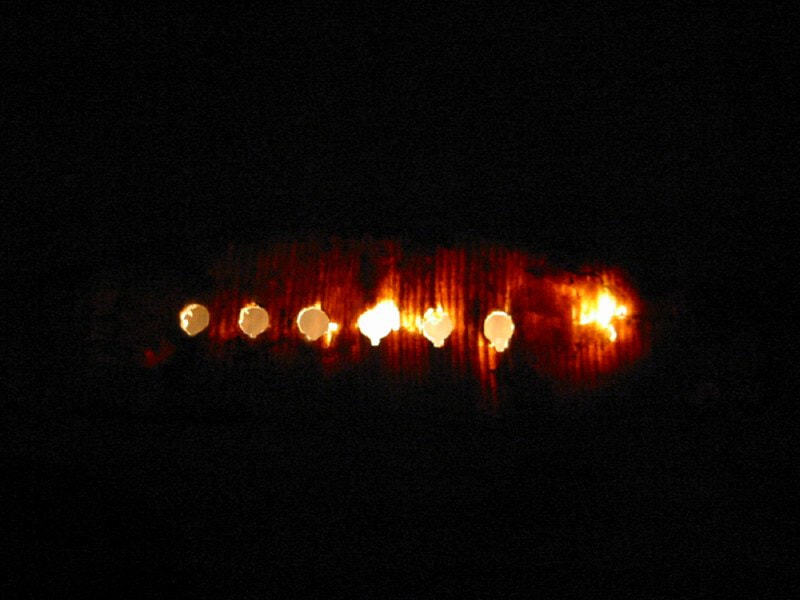
A light inserted inside reveals the amount of wood thast was torn away by an impatient repairman. The soundboard area around the bridge pin holes is very thin.
Cleaning away old glue and leveling the soundboard is the first step in reconstruction.
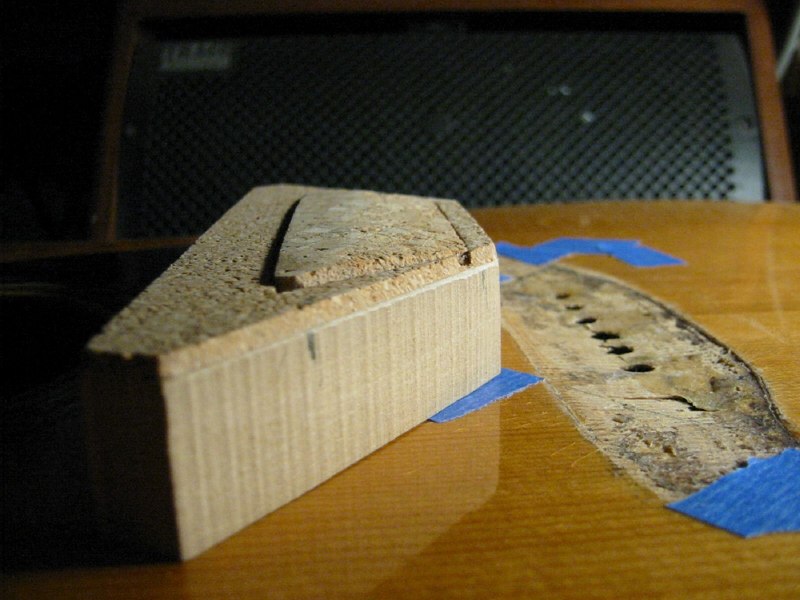
A special caul is made to press the distorted soundboard flat against a new bridgeplate.
A new rosewood bridgeplate is made and ready to be glued.
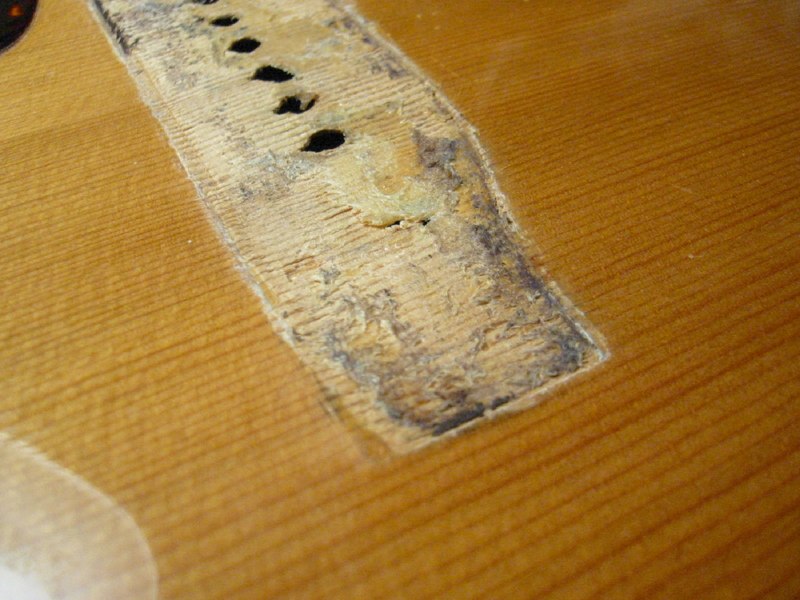
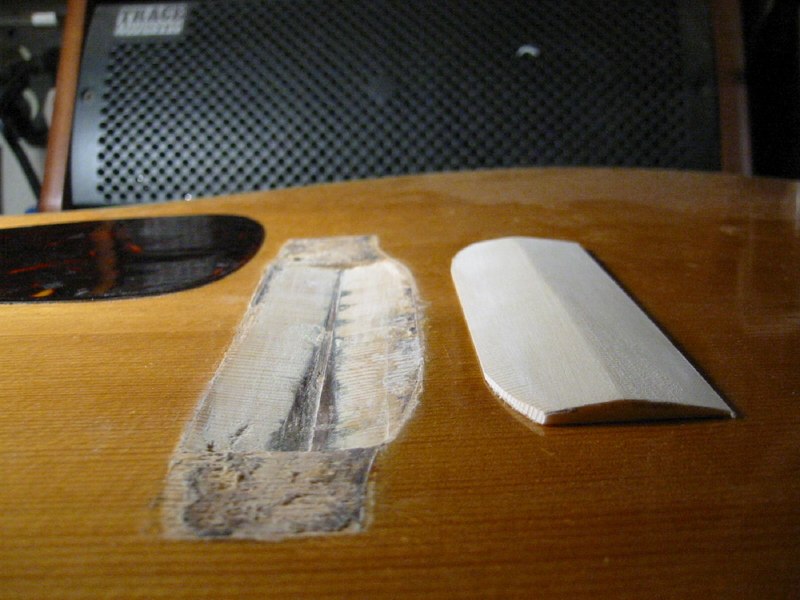
After the brideplate has been installed the amount of missing wood on the soundboard is clearly visible.
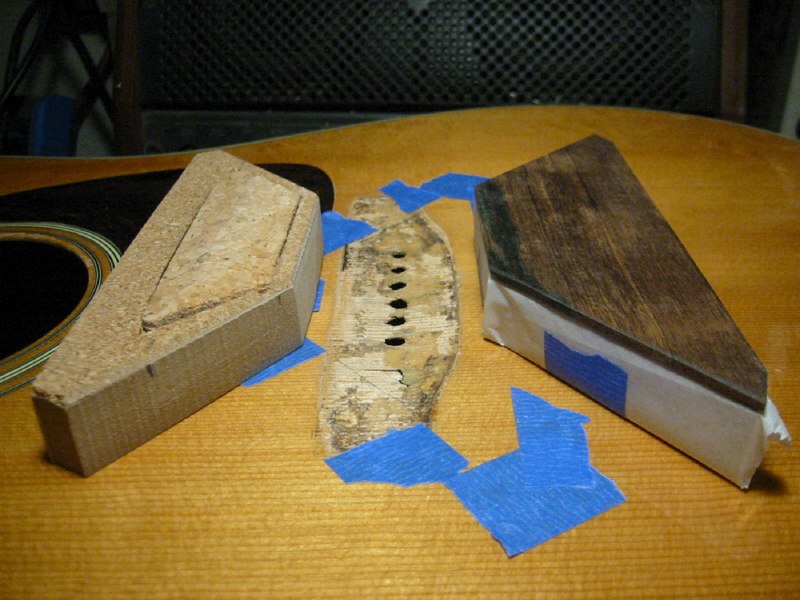
The damaged area is carefully chiselled along with a plug to match.
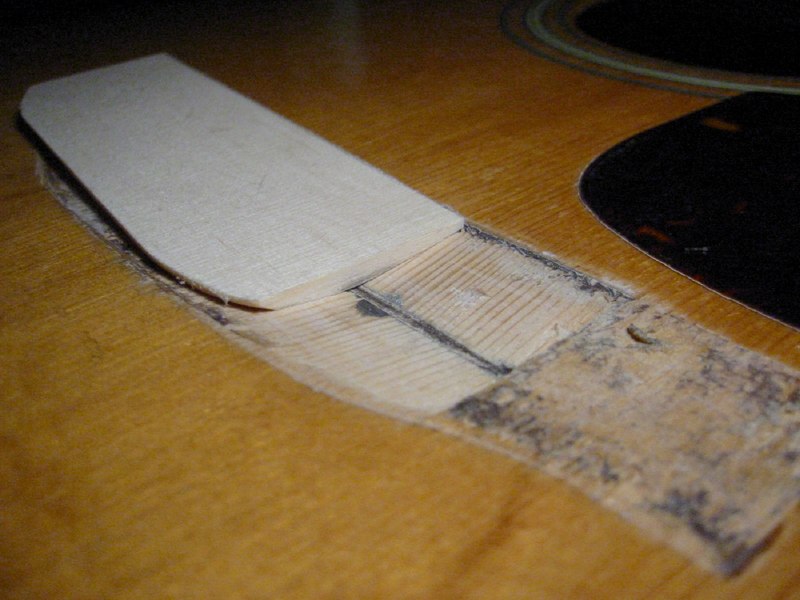
A precise fit is essential for effective gluing.
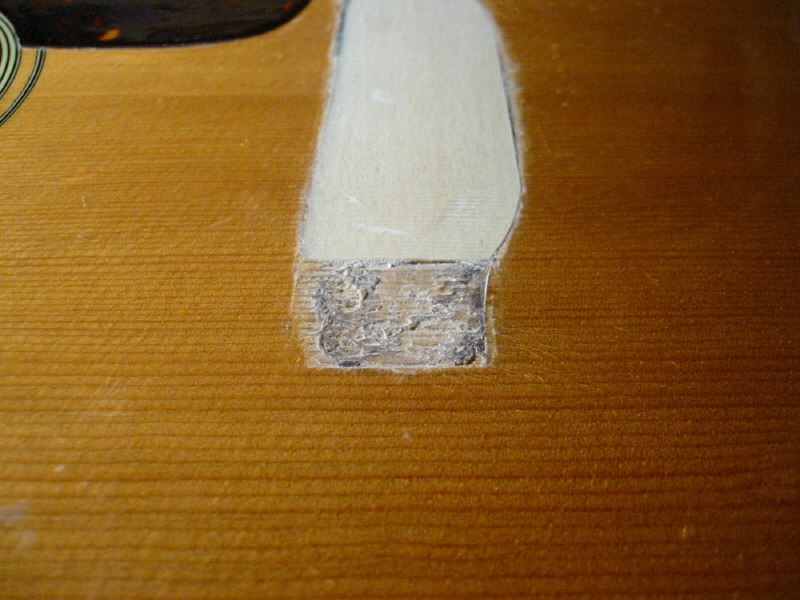
The plug is glued and chiselled to match the plane of the soundboard.
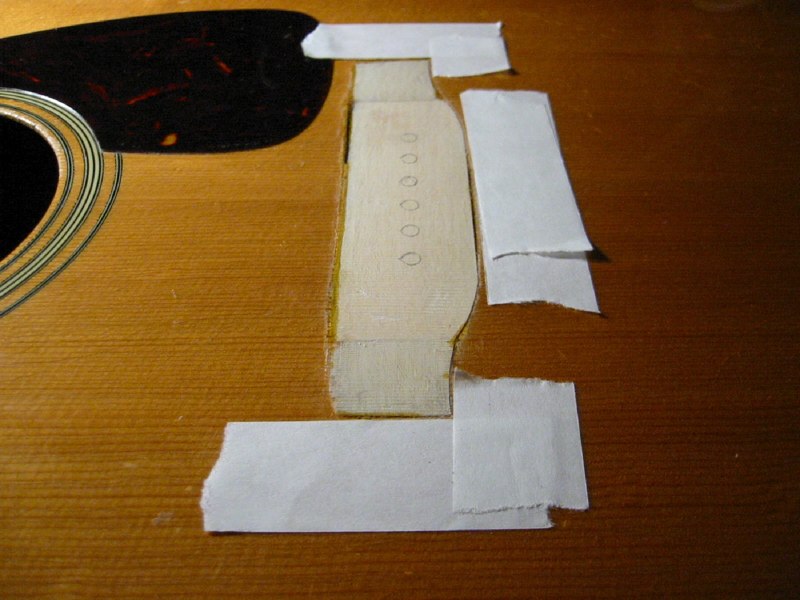
After the areas at the ends were repaired with spruce veneer tape is applied to locate the bridge.
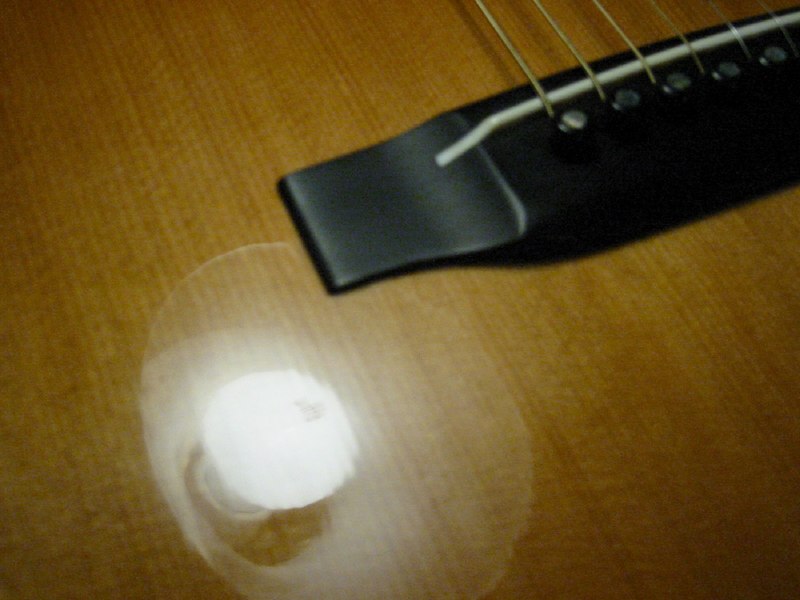
After cleaning the bridge of old glue and leveling its base it is glued back on. A lightbulbs reflection shows no sign of bulging.
The plane of the soundboard is perfectly flat.